It is spring! It is spring! Hell yes, it is SPRING!!
I don’t know why every year it feels like we are climbing to biggest mountain when it comes to winter. I used to LOVE winter. I was a play in the snow, skate all night on the lake, drink hot chocolate outdoors kind of girl… until I had kids and the realization of leaving the house required 3 kids in snowsuits… all the fun of winter was destroyed. Come this year, I feel like the out-of-breath hiker who has almost made it to the summit, but it is just out of reach. I always try not to enjoy that first week of warm temperatures because I know it is always Mother Nature’s way of teasing us. We had a solid run with a couple weeks of warm weather, but just a few short weeks ago, we were thrown right back into winter with a snow day from school to boot.
Talk about depressing.
Just in the last few weeks we have really be able to shed those winter jackets, opting for less bulky, and dare I say, no jacket at all! It really is incredible how little buds on trees and perennial flowers poking through the ground can really cheer up ones soul. This time of year really inspires me. I immediately feel free when I can wear my sandals and spend an entire day outside. I don’t know what it is, but it always feels like we have made it by the hardest time of year and now we can wander, explore, and truly enjoy our little countryside village!
Just today we spent the morning walking around town, feeding fish in the harbour, swinging on the neglected swings and riding our bikes down the dirt road. I feel like we spent more time outside today than we did all winter combined. I’m so excited for flowers to bloom, for boats to hit the canal and for picnics to commence.
Spring is here to stay!
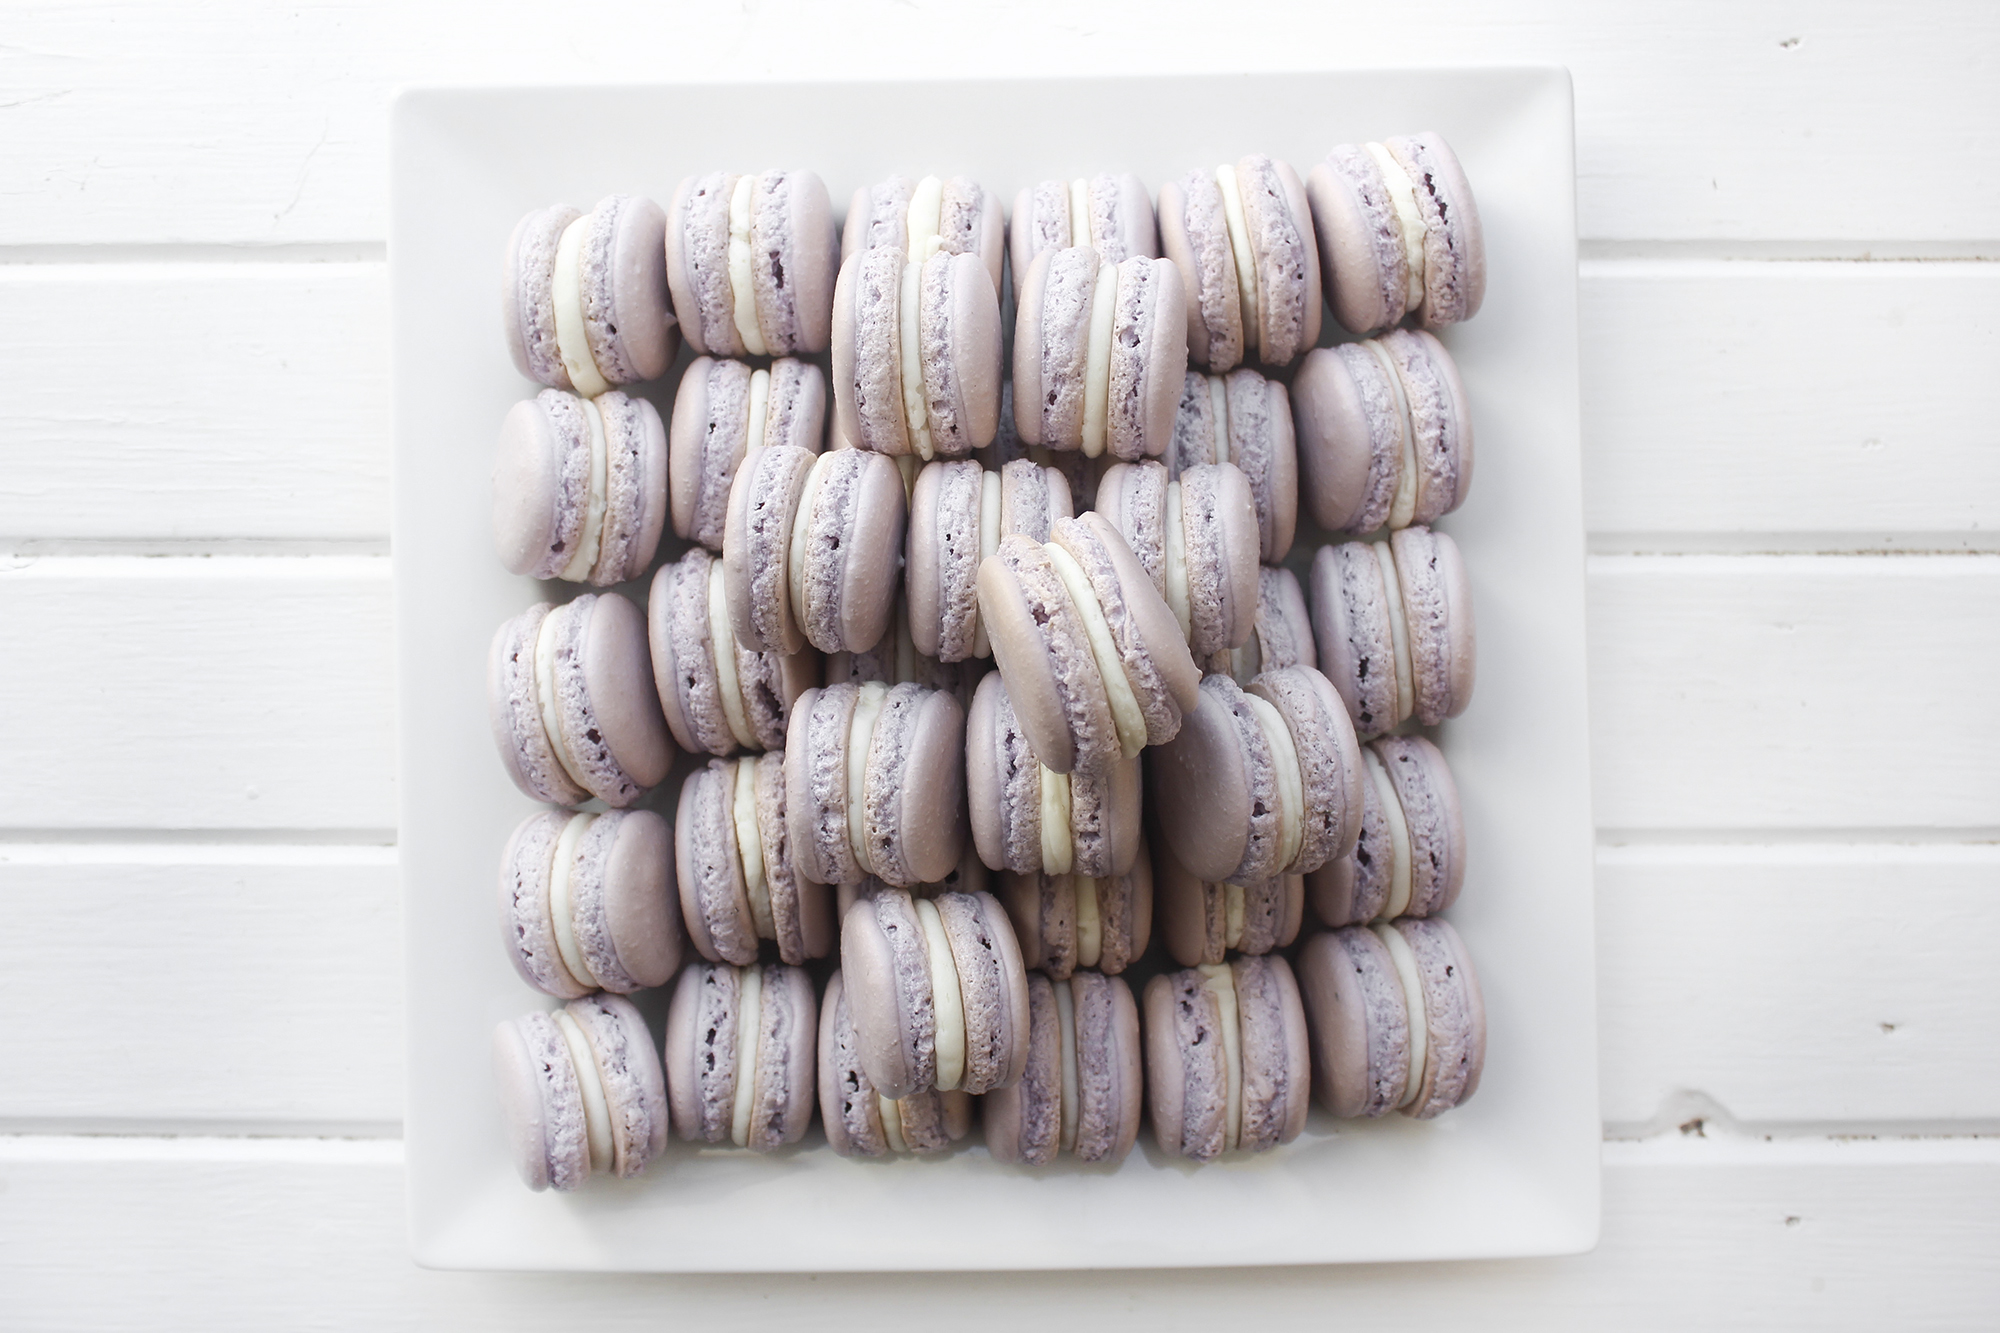
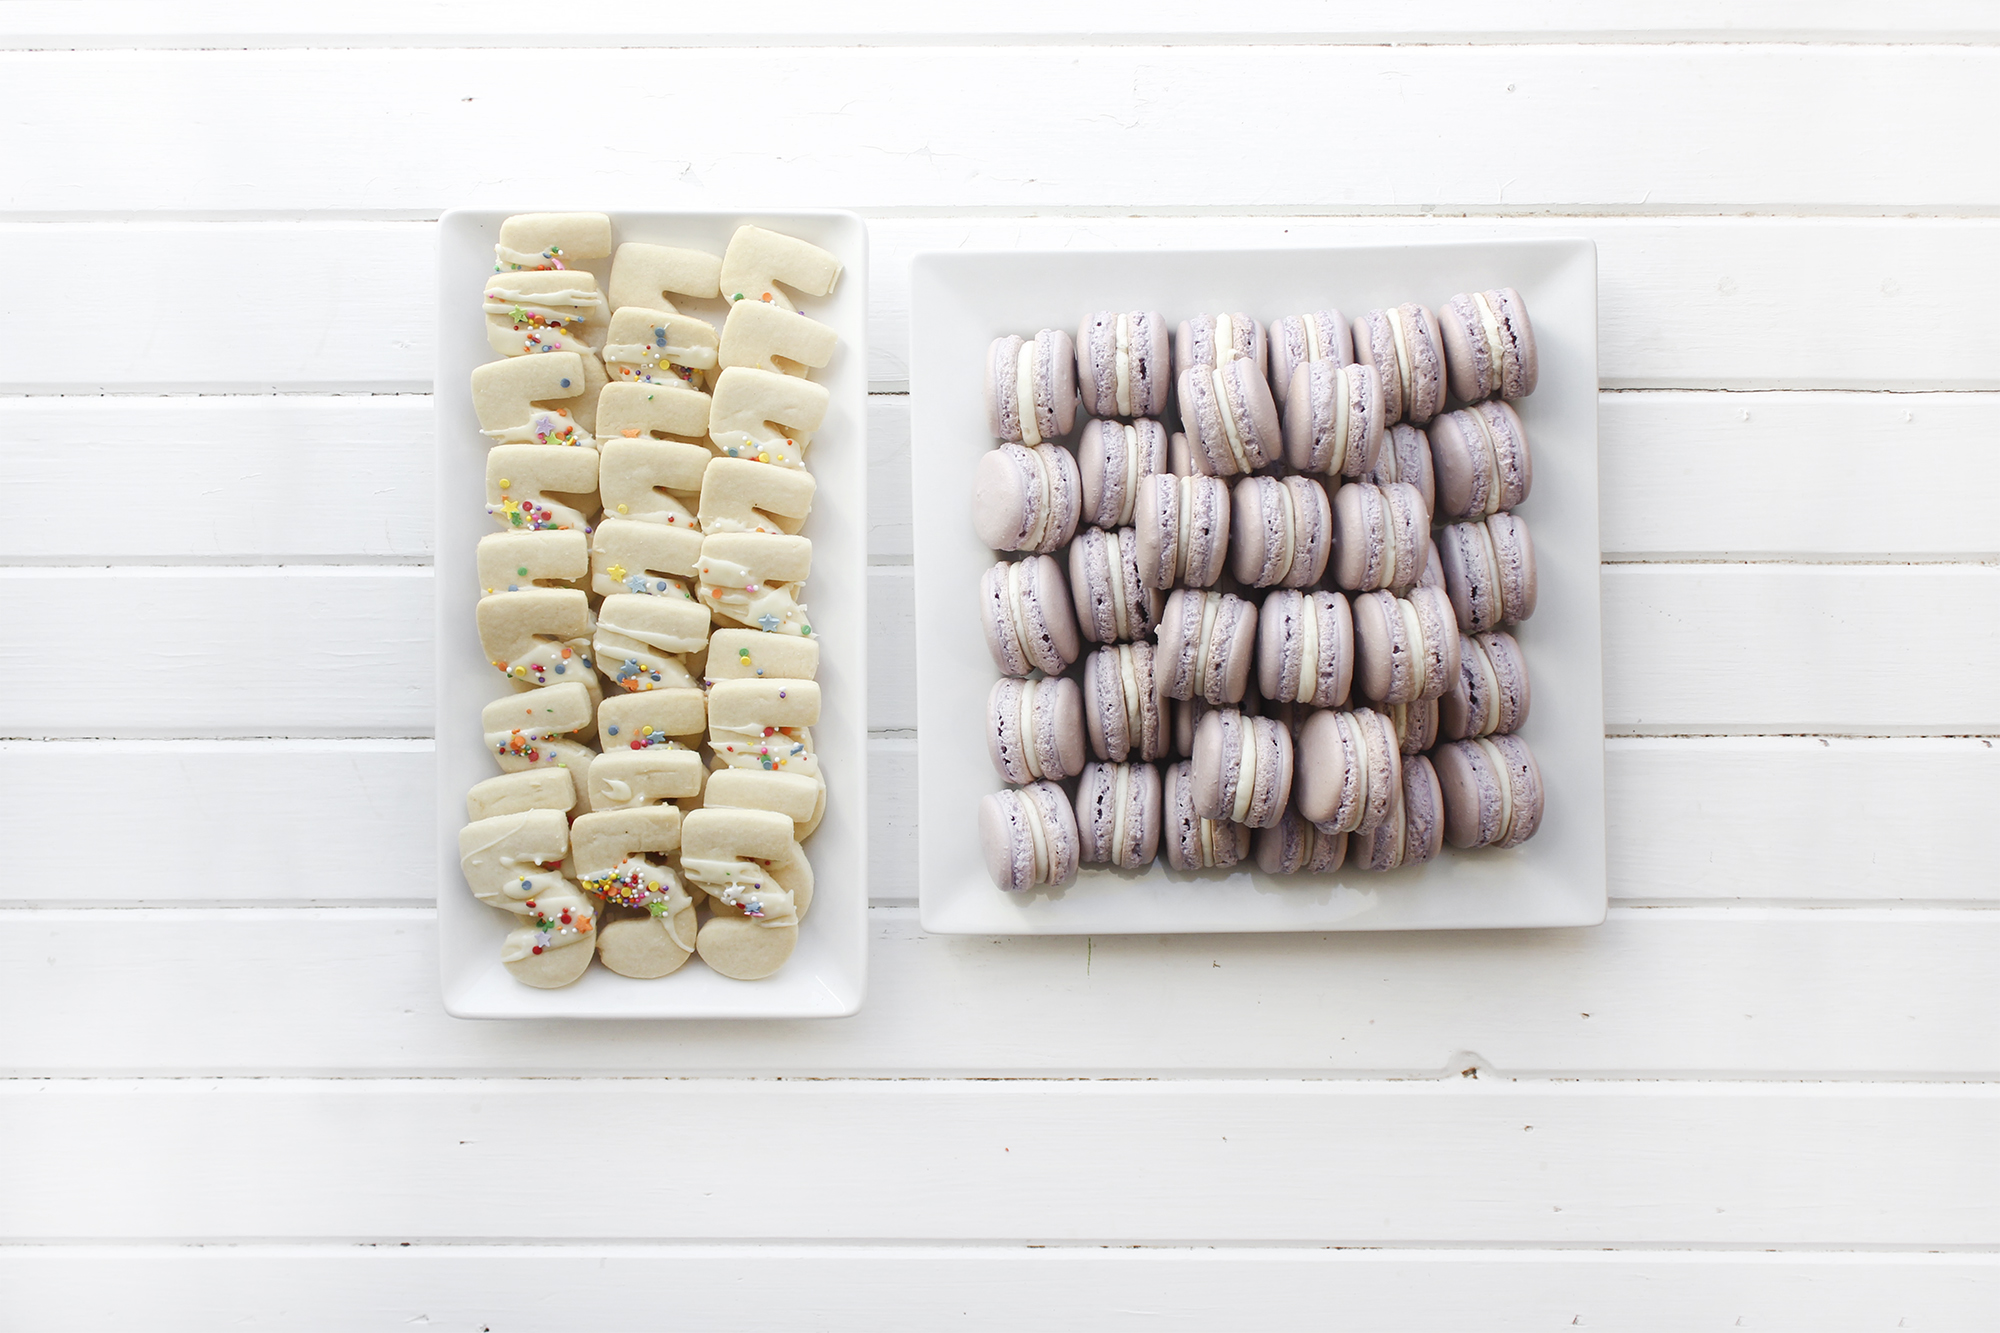
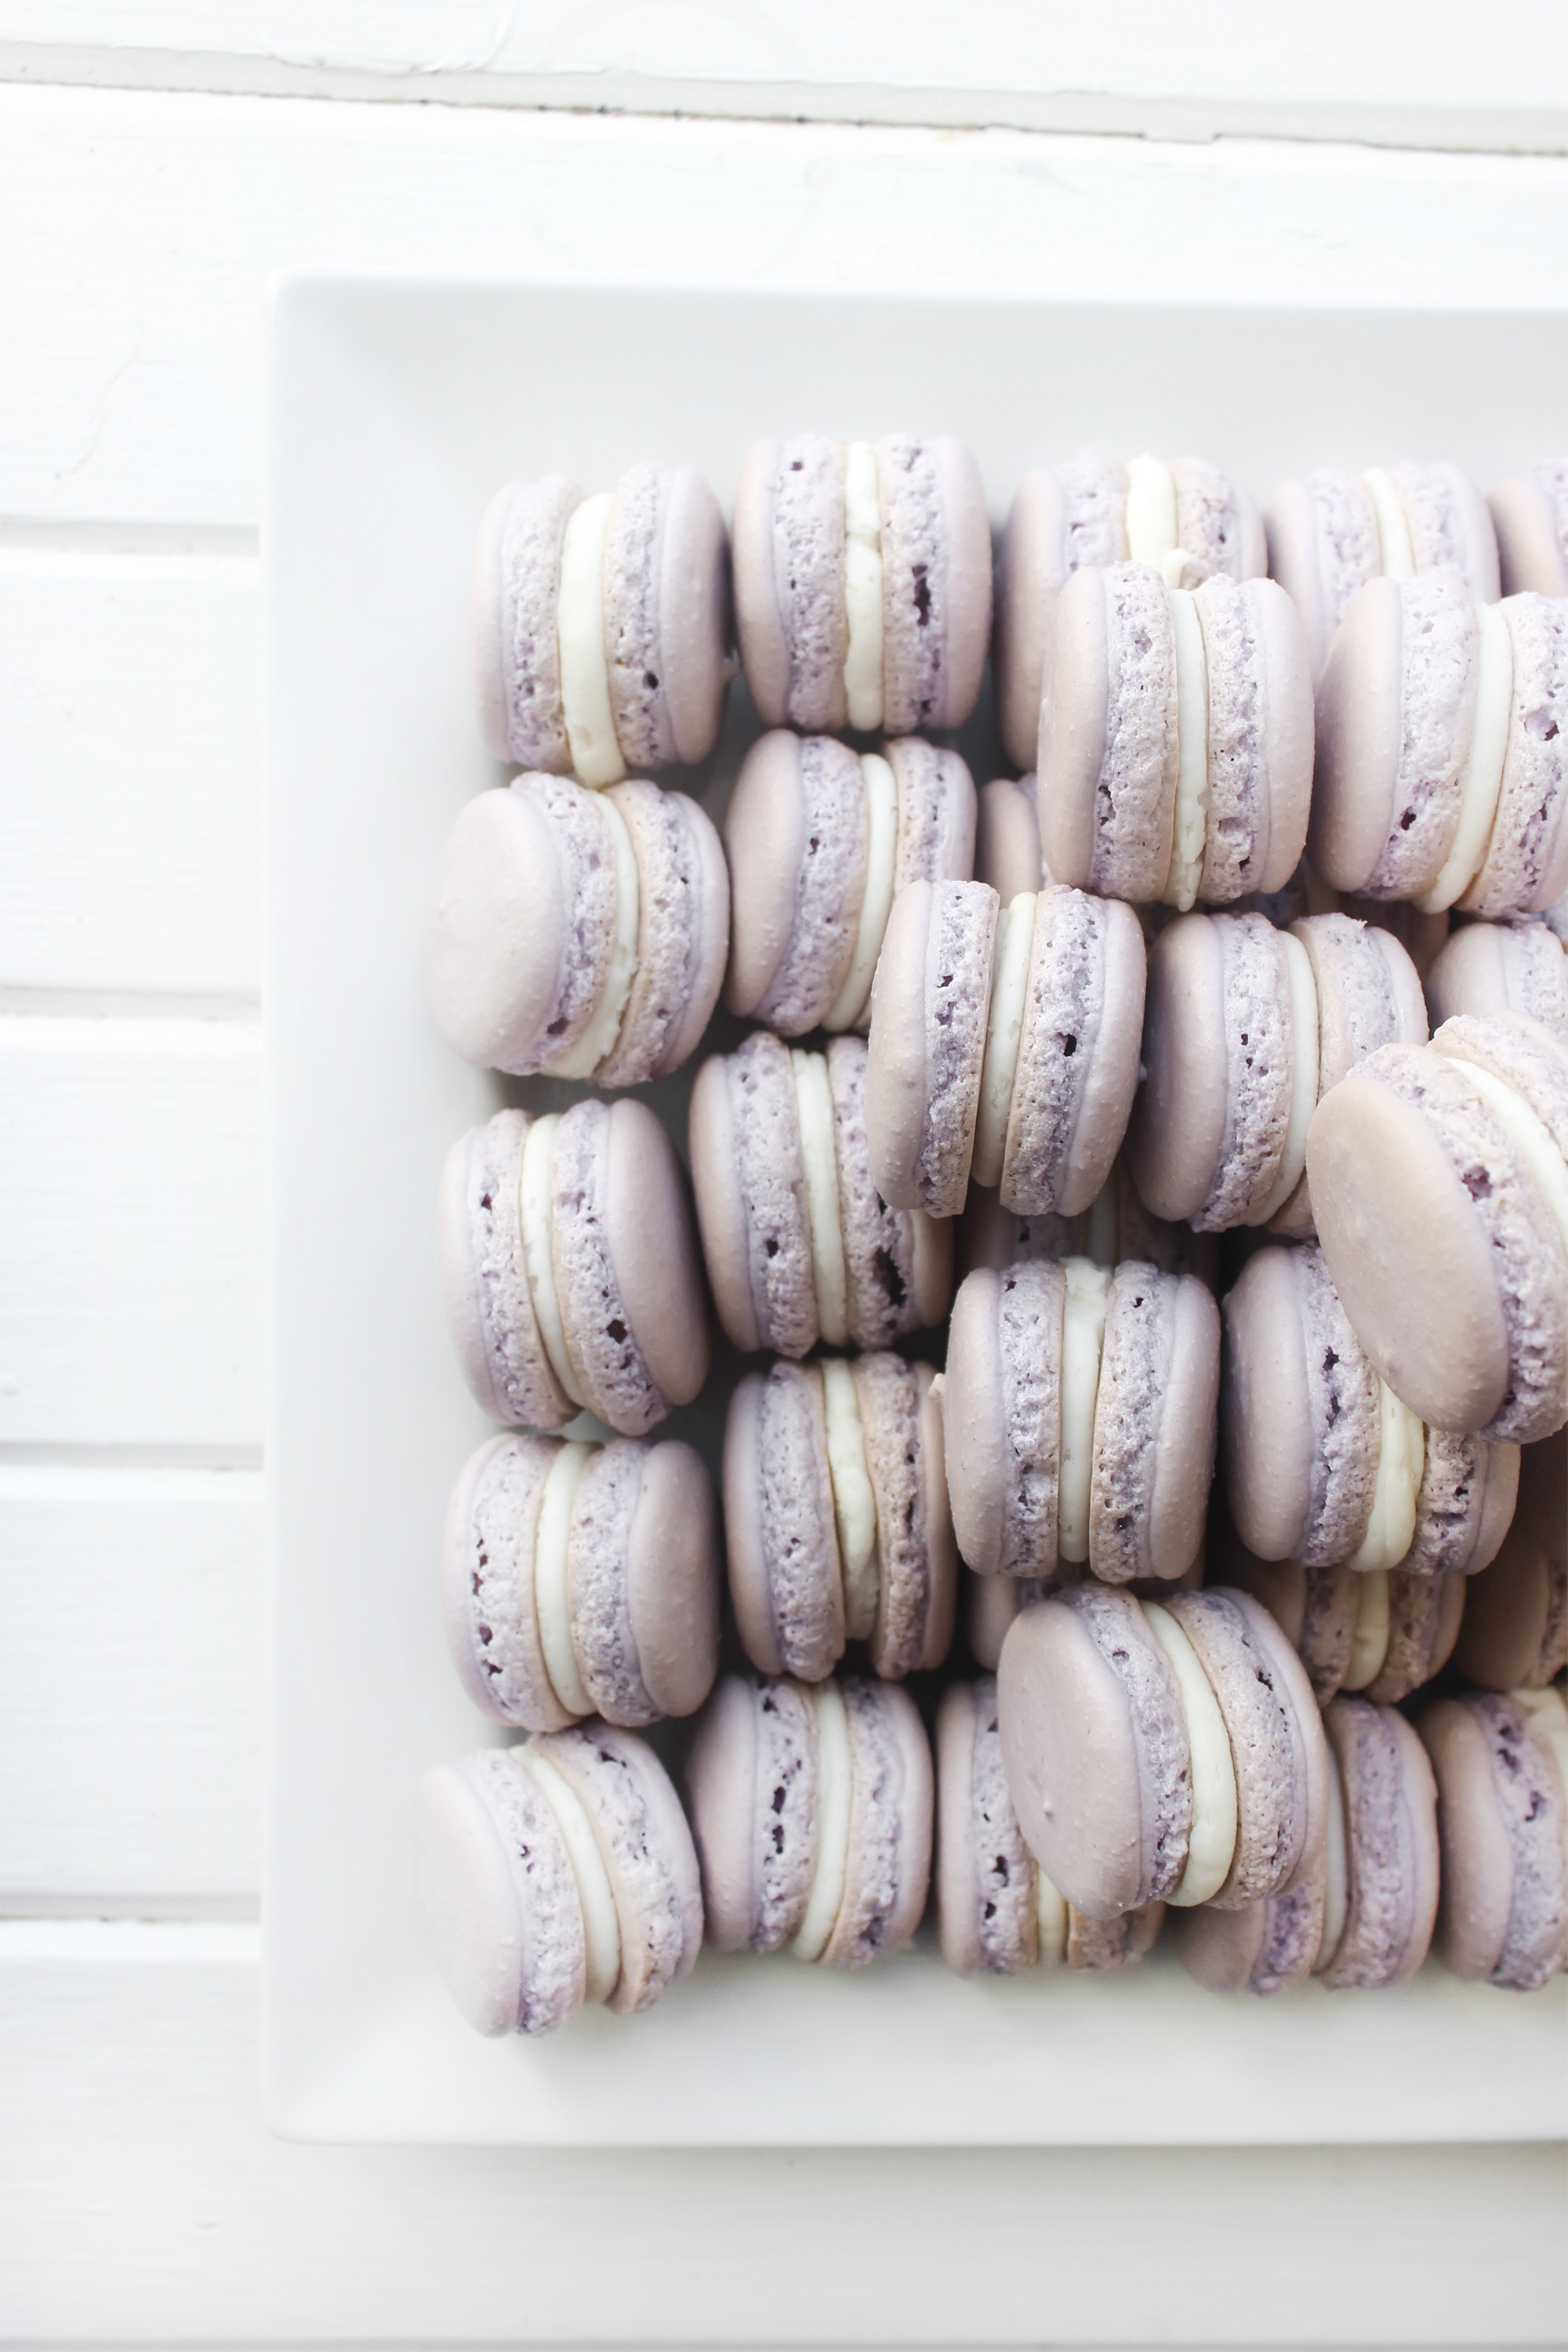
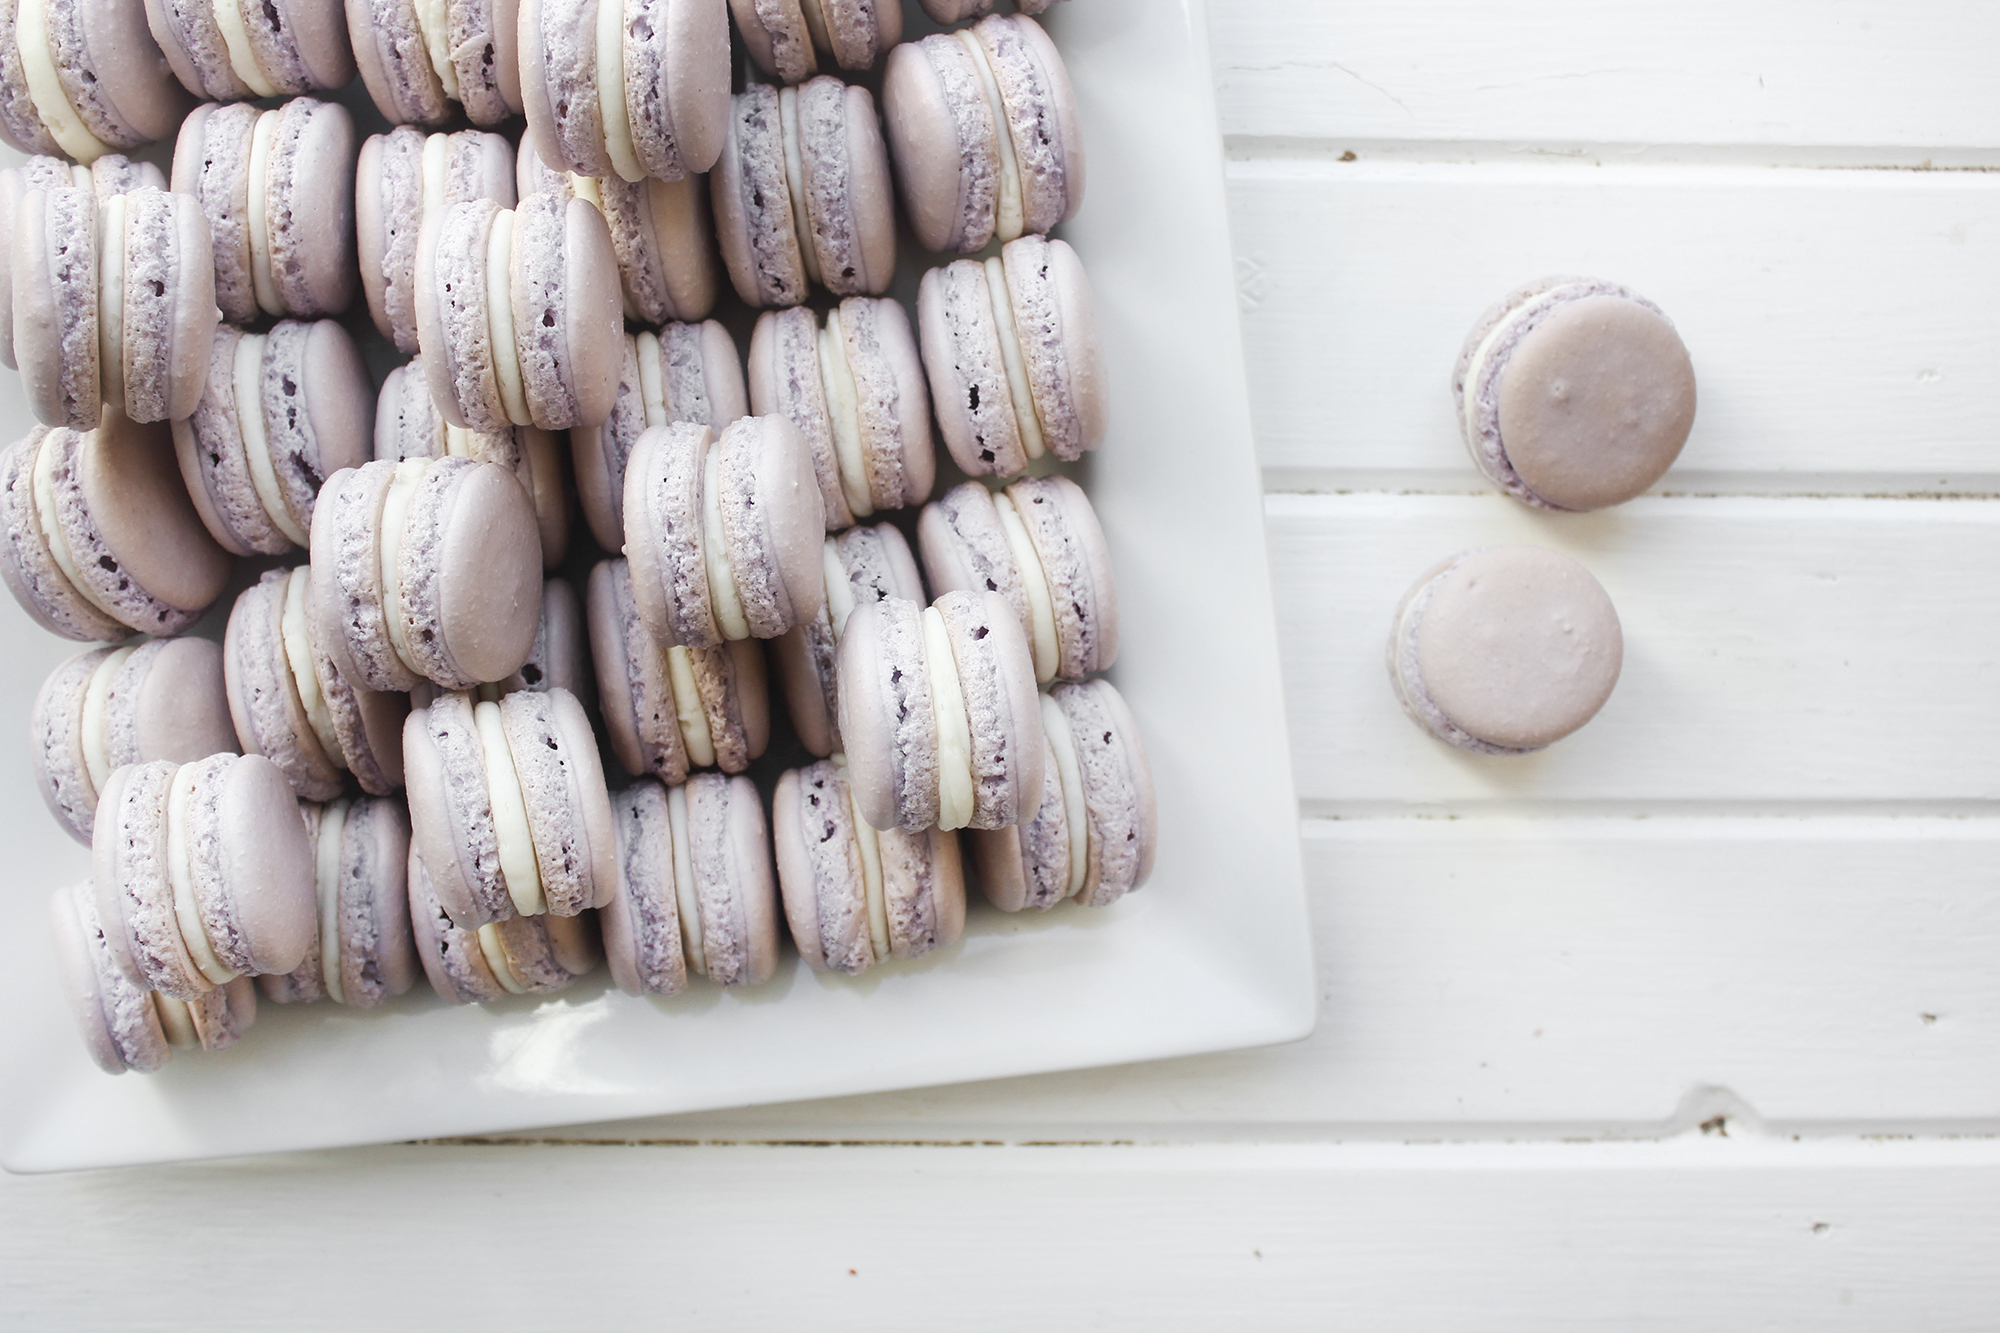
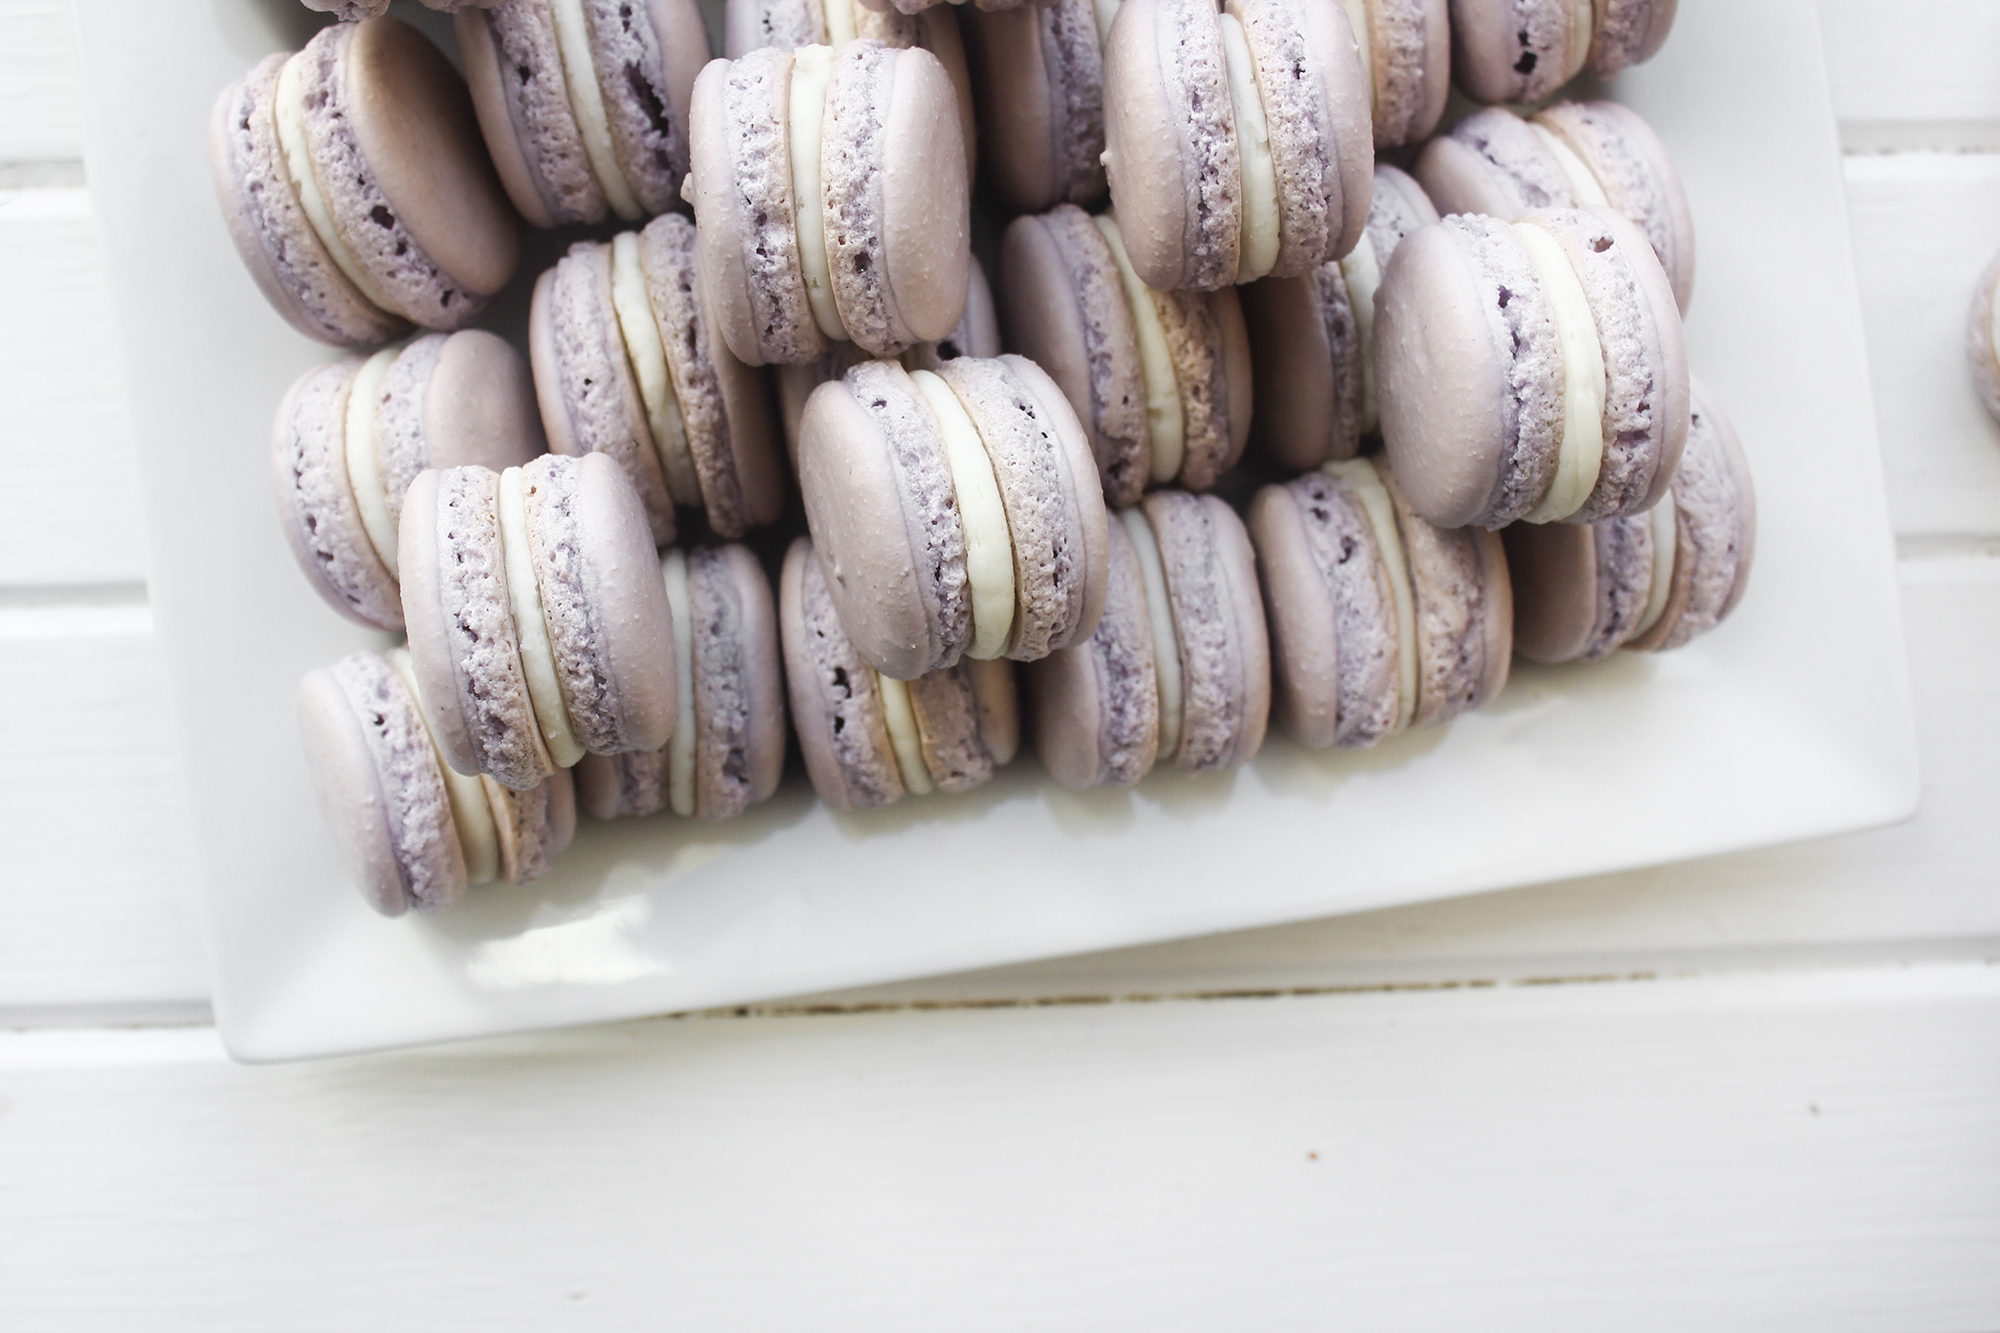
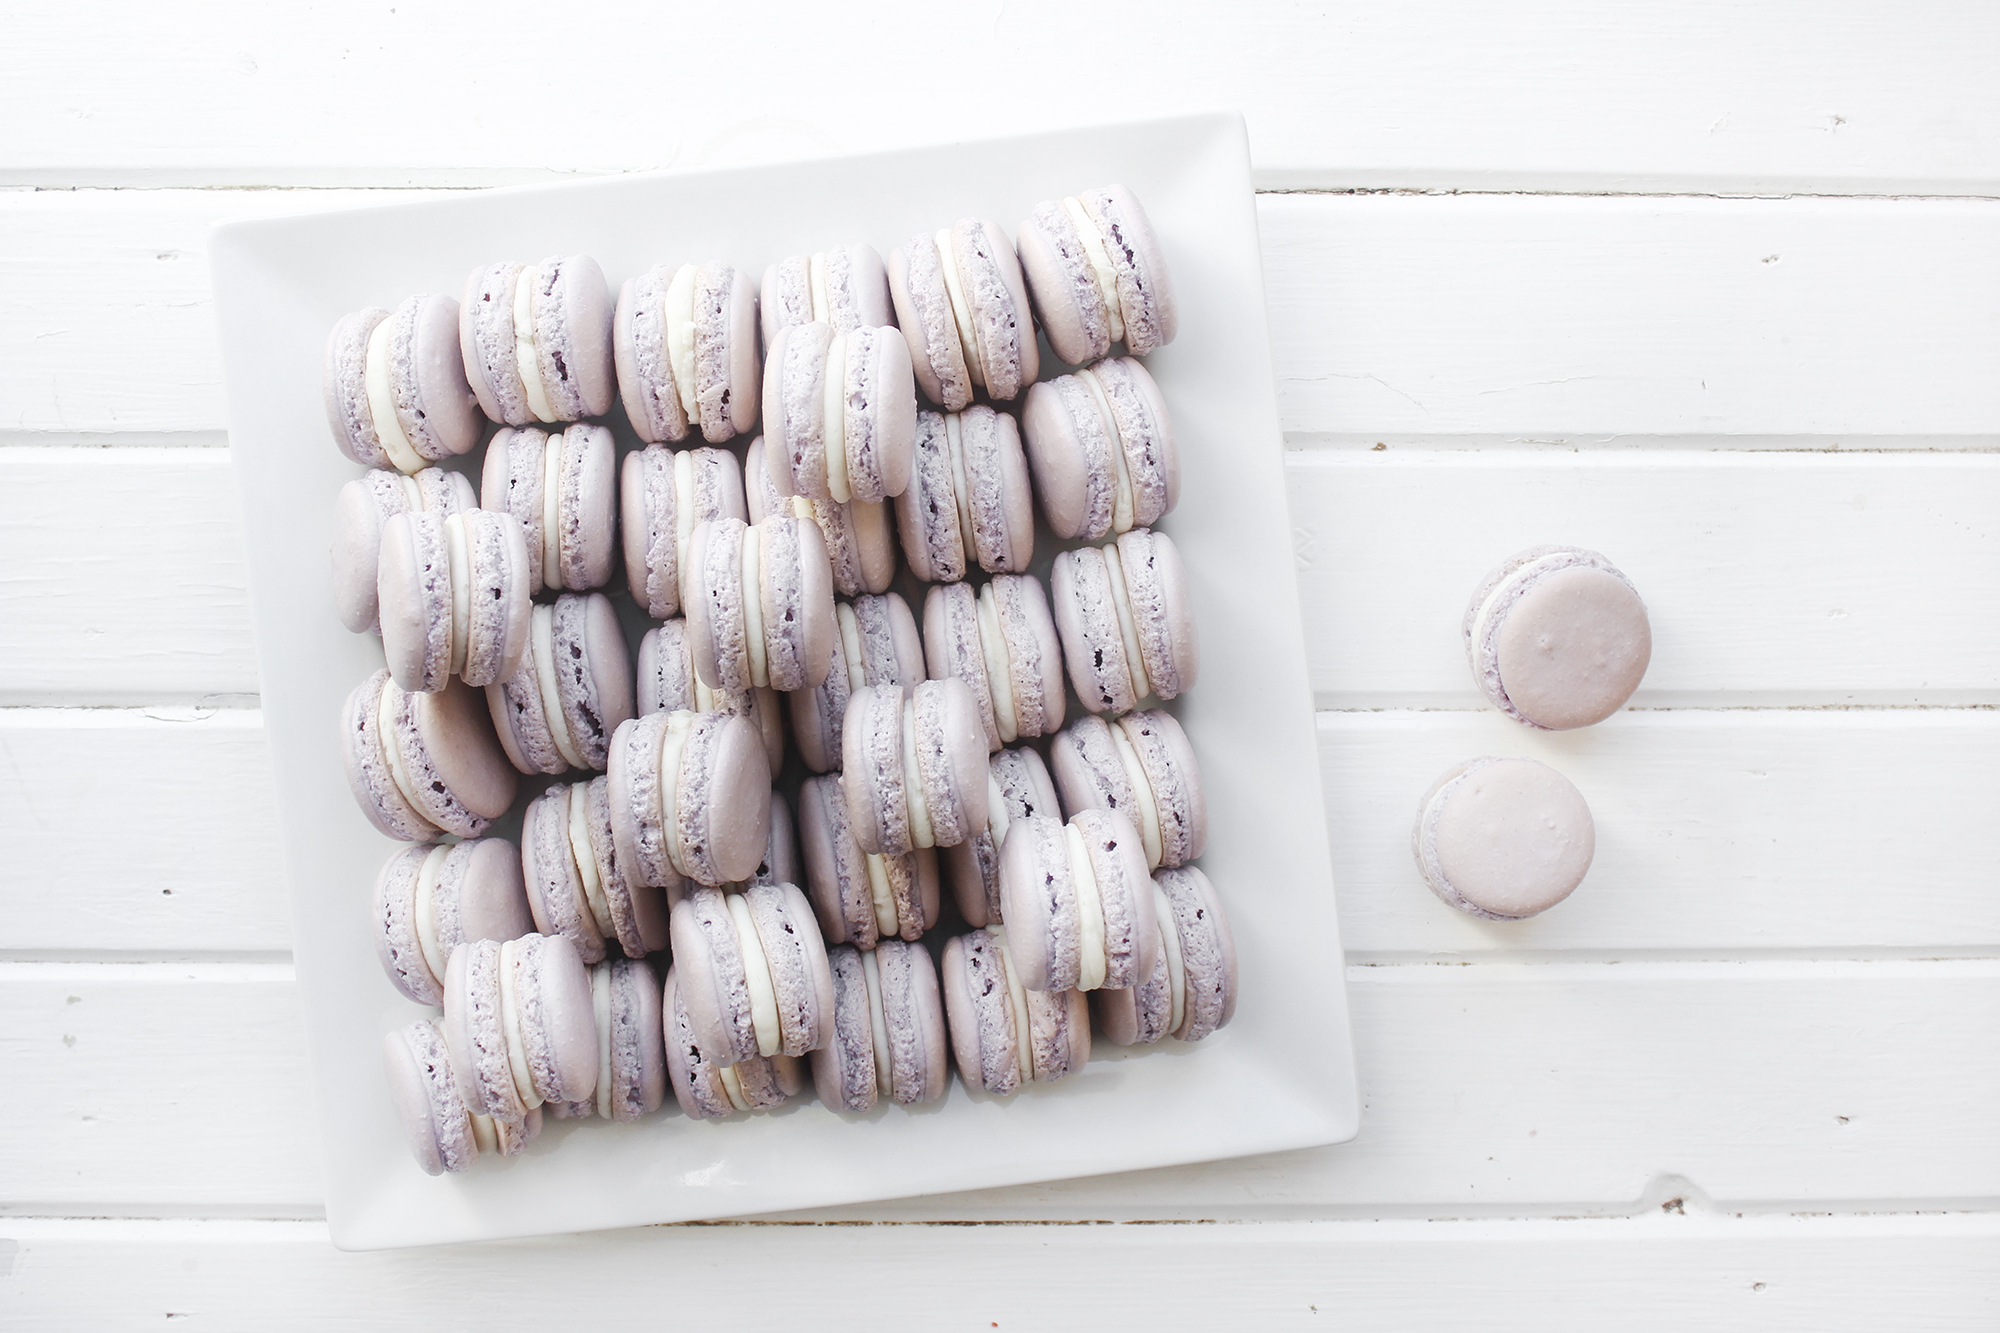
To celebrate reaching the summit, I played around with my two favourite flavours – Honey and Lavender. I make a mean Honey Lavender pie that has become quite popular around these parts, but have been wanting to experiment with these flavours via other baking outlets! I have been making macarons for years now, and have always been pleasantly surprised with my outcomes (seeing as how they are always thought to be difficult). This time around I decided to try the recipe that Erin uses (which uses different portions for almond flour, egg whites and sugar). I added in my own flavours using dried lavender and yummy honey. Aside from slightly overabaking them (boy do ovens ever vary in baking times and actual temperatures!), they turned our amazing! Erin shares a lot of her dos and don’ts over on her blog. I definitely recommend checking them out before starting! Her recipe called for the macs to bake for 18 minutes… Mine could have came out after 10 – ovens these days!!
HONEY LAVENDER MACARONS
ingredients
lavender macaron shells:
170g ground almonds
300g powdered sugar
1 Tbsp. dried lavender
180g egg whites, aged on the counter overnight
160g superfine sugar
pinch of cream of tartar
1 tsp. vanilla bean paste
honey buttercream:
225g (1 cup) unsalted butter, at room temperature
1 tsp. vanilla bean paste
pinch of salt
500g (4 cups) powdered sugar
2 Tbsp. Honey
2 Tbsp. whole milk
steps
lavender macaron shells:
Preheat oven to 300F, and position the oven rack in the centre of the oven. Using a 1.5inch circle to trace, draw a “template” for your macarons on a piece of white paper, leaving about 3/4″ between each circle.
Prepare your baking sheets by lining them with parchment paper. Slide your template sheet underneath and the parchment paper and set aside. Prepare piping bag to be filled and set aside.
Place the ground almonds, powdered sugar and dried lavender in the work bowl of a food processor. Pulse until it resembles very fine crumbs and then sift the mixture through a sieve twice to remove any larger chunks.
In the bowl of a stand mixer fitted with the wire whisk attachment. Whip the eggs on low speed until egg whites become foamy. Add the pinch of cream of tartar . Continue to whisk on medium-low until soft peaks form. Slowly add in the superfine sugar. Once all of the sugar is incorporated, scrape down the sides with a spatula. Add vanilla and mix until incorporated.
Turn your mixer on medium-high and continue to whip until peaks begin to form. Slow down your speed and check your egg whites periodically until you reach a stiff meringue. If adding liquid or gel food dye, do so toward the end of whisking. To check your meringue, remove your whisk attachment and give the whisk a good swipe around the entire bowl and lift up to observe the peak. The peak created in the meringue should just fold over itself just at the tip. The meringue will begin to loose its gloss and have a dull sheen when it is ready. If the meringue falls too quickly or has a highly glossy appearance whisk for another minute and check again.
Remove the bowl from the mixer. Sieve half of the ground almond and powdered sugar mixture into the meringue. Fold into the meringue. You want to deflate the meringue just a little at this stage, to combine the meringue and ground almond mixture.
Add the remaining ground almond mixture, and stir lightly to combine.
Once all of the dry ingredients are incorporated, the batter will be thick and have a dull shine. Continue to fold, pressing out air bubbles along the bottom or sides of the bowl after each turn. As you do so, the batter will loosen. Stop folding when the batter has a glossy sheen, a “lava-like” consistency, and falls in a ribbon like manner off the spatula in a full figure 8.
As Erin says “This step can take some practice until you know what it should feel and look like. If in doubt you are better to under mix them than over mix them – the process of putting the batter into the bag and piping out will help mix a little too.”
Fit a large pastry bag with a medium sized round tip and grab your prepared baking sheets. Holding the piping bag at a 90˚ angle to the surface, pipe out the batter into blobs the size of the circles drawn on the template. Finish off each piped circle with a little “flick” of your wrist to minimise the batter forming a point. Remove the template from under the macarons.
Hold the baking sheet in two hands, and carefully but firmly, evenly bang it against the bench. Repeat this a few more times – this will get rid of any air bubbles, remove points on the top, and help them to spread out slightly.
Continue piping all the macaron batter and rapping the sheets to remove all bubbles.
Allow the macarons to dry at room temperature for approximately 30-40 minutes, or until they form a skin that you can touch without your finger sticking to them. Wait time for macarons may vary based on the temperature and humidity in your kitchen.
Another new-to-me technique from Erin “About fifteen minutes before you are going to bake the macarons, place a spare sheet pan in the oven to preheat – this is going to be used to place under the pan with the macarons on it, to double up, which should help with even baking. Bake the macarons one sheet at a time – place the sheet with the macarons on the preheated sheet, and place in the oven.”
Bake for approximately 10 minutes, rotating the pan once during the cooking process. This bake time can vary drastically (Erin recommends 18 minutes with her recipe, however that was much too long for my oven). It is important to understand what the mac shells should look and feel like rather than sticking to a designated time! The macarons should develop a foot (the ruffled part on the bottom of the macaron), and bake without browning. To see if they are done – press down lightly on a shell. If the foot gives way, it needs a little longer, if it is stable, then it is close to being done. Test a macaron shell – if you can peel it away cleanly from the paper, they are done. If they are stable but cannot yet peel away cleanly, give them another minute or so.
Remove from the oven, and allow to cool on the sheet pan for 10 minutes before peeling off the parchment paper and allowing to cool completely on a wire rack. Repeat the baking with the remaining trays, using the same spare sheet pan to double up.
If your macs do not peel away cleanly, place them, on the parchment paper, into the freezer for 5-10 minutes, then peel away from the paper.
Once cooled, Match up similar size shells into pairs and prepare for filling. You can also store cooled macarons in an airtight container until ready to use.
honey buttercream:
In the bowl of a stand mixer fitted with the paddle attachment, whip the butter, vanilla bean paste and salt until pale and creamy. Sift in the powdered sugar, and mix on medium speed until well combined. Add honey and mix. If the buttercream is still rather thick, add milk a tablespoon at a time, until the frosting is light and fluffy, and a pipeable consistency.
Transfer buttercream to a bag fitted with a large circular tip.
assembly:
Take you paired macaron shells and pipe a circle of buttercream on one half, and then sandwich with the second shell. Be mindful of the amount of buttercream you use. As you sandwich the macaron shells, the buttercream will disperse outward!
As Erin Notes “Macarons taste best if you ‘mature’ them in the fridge overnight to let the flavours meld, but they are perfect eaten immediately too!”
Store leftovers in an airtight container in the fridge.
