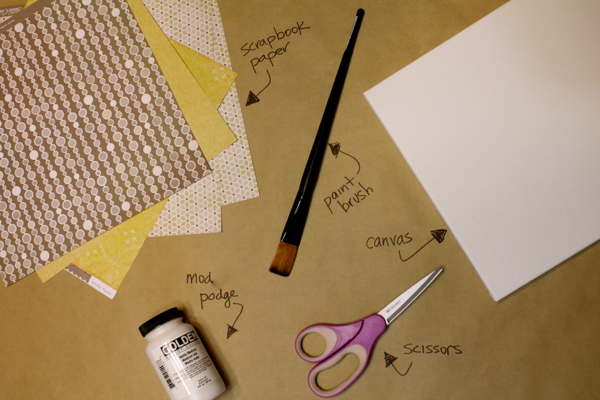
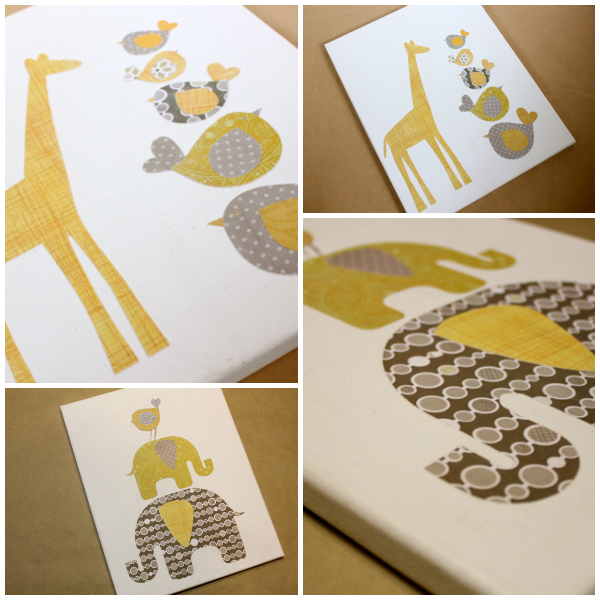
Now that our secret is out, I decided to make week 3 all about creating nursery art! Because we don’t know if we are having a little boy or girl, we (and by we I mean I) opted for my favourite colour combination for our nursery – Yellow and Grey. What kind of animals are yellow and grey? Giraffes and Elephants of course! This weeks challenge was to create wall art using scrapbooking paper . Note that this project does not necessarily have to be a nursery project. You can create a canvas for any room in your house!
The Challenge: Paper Canvas Art
Time to Create: 1 hour
Original Creator: Unknown
Share your Paper Canvas Art photos on Instagram using hashtag #thelittleredbutton
This project is very easy, and to my surprise, it really did not take very long! I plan to make 5 or 6 fun pictures to hang around the nursery, but for now I have 2 different designs to share with you!
Whats first?
First you must decide what shape or design you are using. It could be as simple as one sheet of beautifully patterned paper (as in the Pinterest example above), or you can dive deeper and cut out shapes to create a scene. I own a Silhouette Cameo which made this project much easier than drawing these shapes by hand and cutting them out (yes I took the lazy way!), but you can quite easily do it without an electronic cutter.
Using the Silhouette Cameo, I searched through their online library for giraffe and elephant shapes. It didn’t take me long to find the exact ones I was looking for! After placing my designer scrapbooking paper on the cutting mat, I pressed cut, and out popped my shapes!
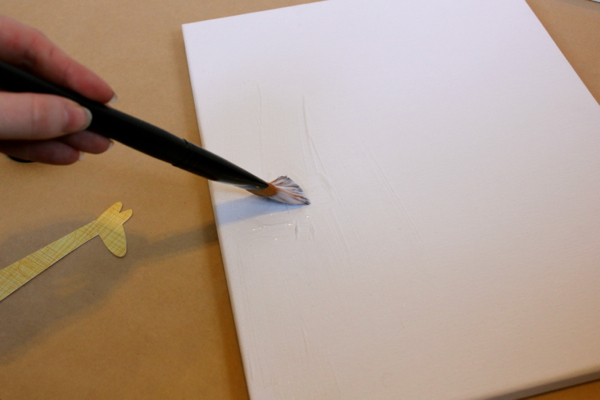
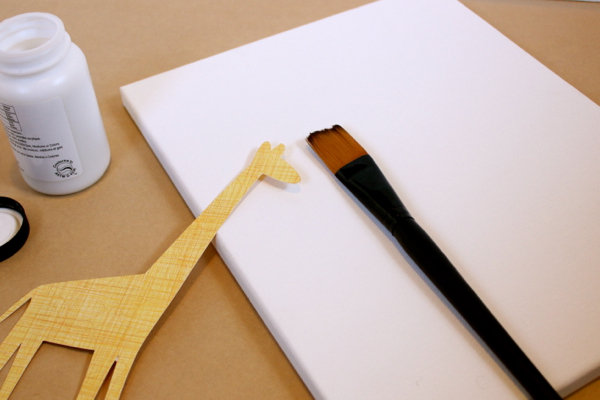 Next you will want to paint your canvas with mod podge to create a “sticky” surface to place your cutouts. Once you have painted the entire area, place your cutouts on the surface to create the start of your scene.
 Making sure that your placement is correct, next paint over top of your paper with mod podge. Make sure not to coat it too thick or you will get clumps around the intersection between the paper and canvas! I tried to paint an even coat over the entire canvas to make sure all pieces were flat. You may need to press down on certain areas of the paper to release any unwanted air bubbles!
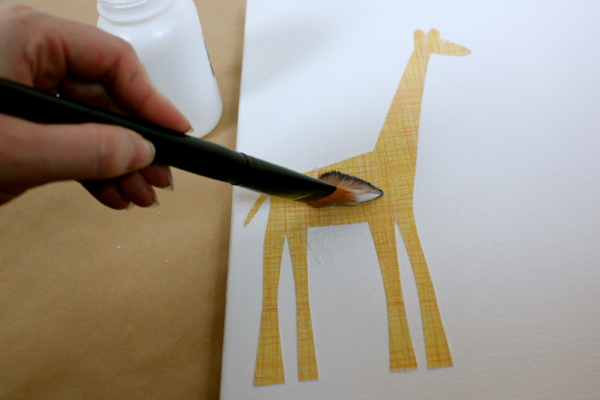 Next continue adding your shapes, covering with mod podge until your design is finished!! What do you think? I hope Baby Blair likes them! Stay tuned to see the finished project hanging on the nursery wall.
Please share your creations on Instagram by using hashtag #thelittleredbutton
I can’t wait to see them!!
Peace, Love and Paper Art!
-Stacy
