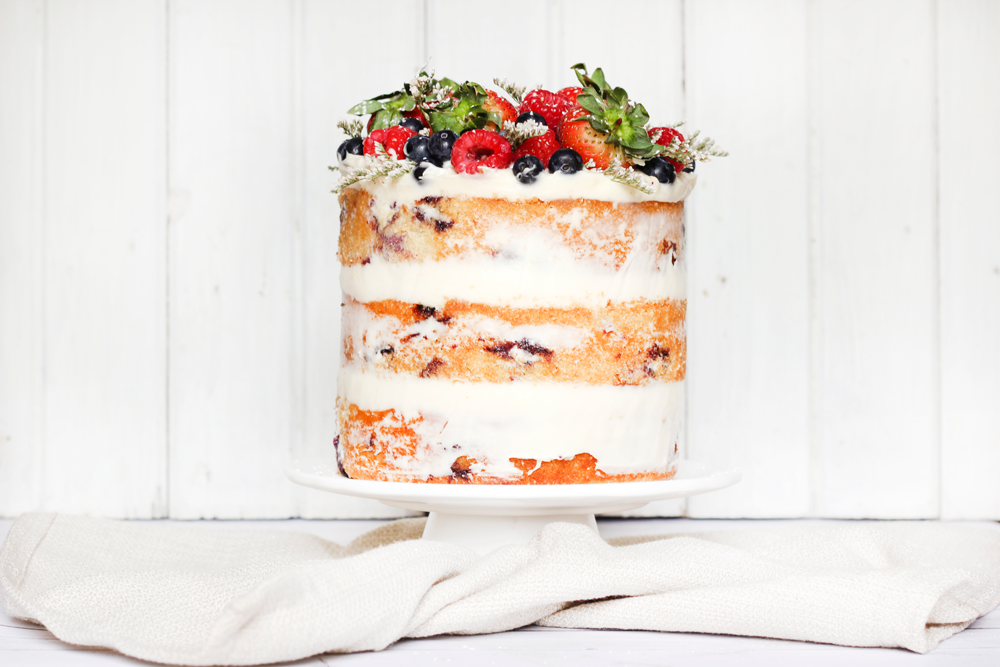
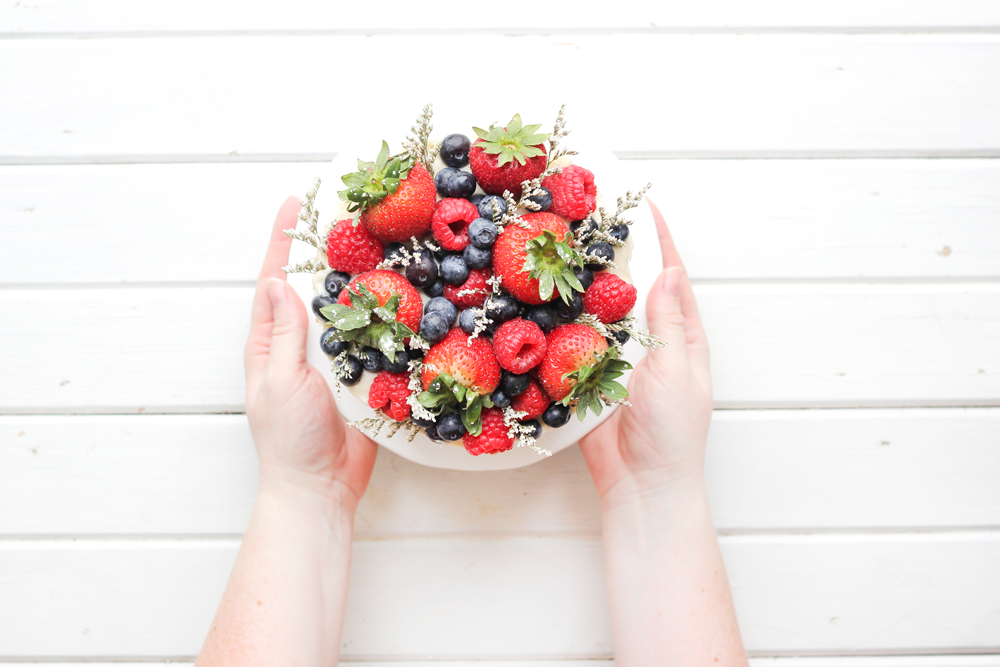
Three cheers for Naked Cakes!
Most of my life I have strayed away from cakes because I’m not a huge fan of icing. A little icing is okay, but when you have more icing than cake, I’m a little turned off. Now that ‘naked cakes’ are taking front and centre stage at big weddings and small birthdays alike, I have never been more happy! I have tried my hand at making a handful of these lovely cakes, and I must say, I’m addicted. The simplicity, yet beautiful feel for these cakes makes them suitable for any occasion – it all depends on how to dress it up! Flowers, fruit, giant chunks of chocolate… It is all fair game!
I dare you to try to make your own (you won’t be disappointed)! I have put together a list of tips that will make your first adventures in ‘Naked Caking’ much simpler:
- Try to make the cakes as close to the event as possible, the day before preferably. This will keep them as fresh as possible.
- Think about the colour of the ‘crust’. A chocolate cake will have a dark brown crust, a carrot cake a gingery crust and a vanilla cake a lighter brown crust.
- Split, layer and fill each individual layer/tier prior to assembly.
- Brush with a little sugar syrup (1 part sugar, 1 part water) on the cakes to help keep some moisture in the cake. You can flavour this sugar syrup with all sorts of flavours.
- For multiple tiers, consider dowelling to support the cake.
- Spread generous amounts of buttercream and/or preserve filling on top of each layer.
- Stack the next tiers on top of each other, pressing down lightly to form a bond with the base cake – the buttercream will make the two tiers stick together. It is okay if the buttercream spills over the edge!
- Repeat with the other layers.
- I prefer to use my cake spatula to scrape around the entire outside of the cake. This makes the buttercream and/or filling level with the diameter of the cake. It also creates a unique look as some icing is left on the sides of the cake layers themselves. This is not required, however! Some prefer the look of freshly piped and uneven buttercream layers!
- Decorate with fresh berries, flowers or other edible items you desire.
- To finish add a light dusting of icing sugar.
- The cake should be consumed within 4 hours. Because the cake is left exposed, it is prone to dry out faster!
And without further ado, my favourite recipe for blueberry lemon cake!
- CAKE
- 1 cup unsalted butter, softened to room temperature
- 1 and 1/4 cups granulated sugar
- 1/2 cup packed light brown sugar
- 4 large eggs, at room temperature
- 1 Tablespoon vanilla extract
- 3 cups sifted all-purpose flour
- 1 Tablespoon baking powder
- 1/2 teaspoon salt
- 1 cup buttermilk
- zest + juice of 3 medium lemons
- 1 and 1/2 cups blueberries, fresh or non-thawed frozen
- 1 Tablespoon all-purpose flour
- FROSTING
- 8 ounces full-fat cream cheese, softened to room temperature
- 1/2 cup unsalted butter, softened to room temperature
- 3 and 1/2 cups confectioners' sugar
- 1 - 2 Tablespoons heavy cream
- 1 teaspoon vanilla extract
- pinch salt
- Preheat the oven to 350F. Grease and lightly flour three 8" circular cake pans. Set aside.
- FOR THE CAKE: Using a handheld or stand mixer with a paddle attachment, beat the butter on high until creamy (approximately 1 minute). Add granulated and brown sugars and beat on medium-high speed until creamed, about 2-3 minutes. Scrape down the sides and bottom of the bowl as needed. Add eggs and vanilla. Beat on medium speed until everything is combined, about 2 full minutes. Scrape down the sides and bottom of the bowl as needed. Set aside.
- In a large sized bowl, toss together the flour, baking powder, and salt. Slowly add the dry ingredients to the wet ingredients. Beat on low speed for 5 seconds, then add the milk, lemon zest, and lemon juice.
- Remove from the mixer and stir lightly until everything is just combined. Toss the blueberries in 1 Tablespoon of flour and fold into the batter. Batter is extremely thick. Do not overmix at any point. Overmixing will lend a tough, dense textured crumb.
- Spoon batter evenly into 3 prepared cake pans. Bake the three layers for about 21-26 minutes or until a toothpick inserted in the center comes out clean. Remove from the oven and allow to cool completely before frosting.
- FOR THE FROSTING: Using a handheld or stand mixer with a paddle attachment, beat cream cheese and butter together on medium speed until no lumps remain, about 3 full minutes. Add confectioners' sugar, 1 Tablespoon cream, vanilla extract, and salt with the mixer running on low. Increase to high speed and beat for 3 minutes. Add 1 more Tablespoon of cream to thin out, if desired.
- Assemble and frost: First, using a large serrated knife, trim the tops off the cake layers to create a flat surface. Place 1 layer on your cake stand. Evenly cover the top with cream cheese frosting. I often add blueberries or blueberry preserves in the centre of the layers.
- Top with 2nd layer, more frosting/blueberries, then the third layer. Top the final layer with frosting.
- I like to take my piping bag and add frosting around each frost ring, and then scrap off using a cake spatula. This will create the name cake look.
- Top with blueberries or other desired eatable decorations.

