I love Christmas. It’s my favourite time of year. I love it because the family. I love it because everyone is together, cheery, and drinking egg nog. I used to force myself to not think about Christmas until I was home from school, engineering exams finished, and sleep deprivation all caught up. That usually brought me to about December 23, and then the panic would set in. I would have to face the massive crowds in the mall while I trying to start my shopping (and for those of you who know me, shopping is my least favourite thing to do, even in empty stores), my family and I would rush to the back forest to find the perfect Christmas tree (because I never let them do it without me), and I usually tried to send Christmas cards (which were usually put in the mail after the new year)!
When Scott and I married, I allowed myself to start Christmas festivities – decorating the house, finding the tree, Christmas shopping – at the beginning of December. I no longer had exams to worry about or figuring out Christmas travel between the east coast in in-land Canada. Early December was a good time to start.
This year is different. I’ve been thinking about Christmas since September. I have most of my gifts planned (and scheduled to purchase over the next few weeks to save my bank account from the usual mass exodus of money at one time). I have been dreaming up Christmas DIYs, and planning new Christmas baking endeavours. We have our annual Christmas party planned, and invitations already sent out. I’ve literally been holding myself back, trying to make it past Halloween before I start pulling out the decorations.
Over the weeks leading up to Christmas, I am planning to post fun Christmas projects and baking inspiration. I know how hard it is as a young family to get ready for Christmas. I understand how expensive it is to purchase Christmas decorations to make your house feel the Christmas spirit. It can be a daunting task! After four years here, we still do not have many decorations, so I feel that this year is the perfect time to start making our own!
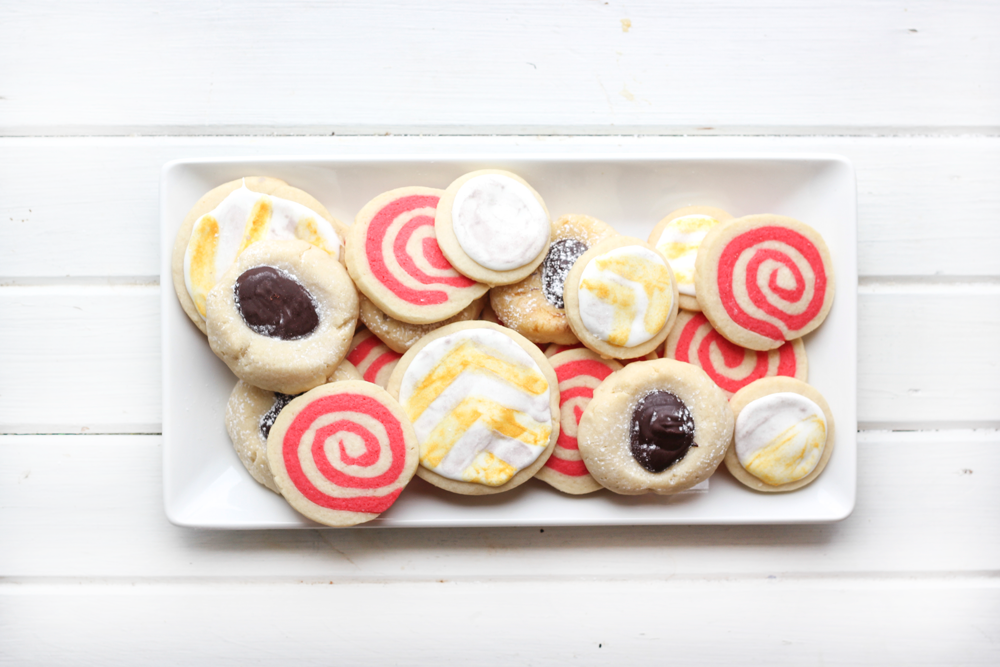
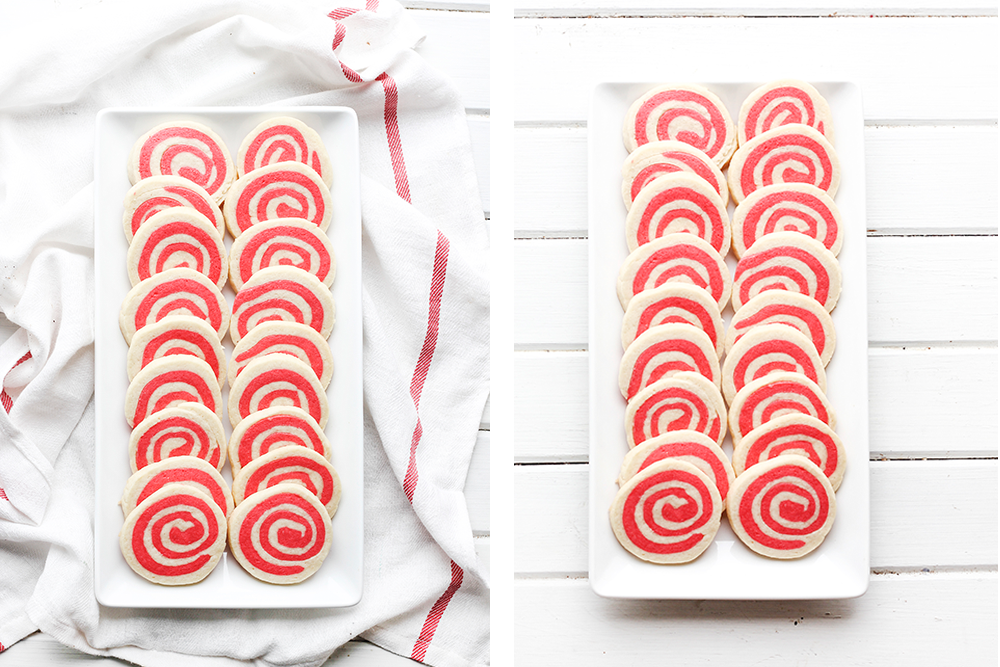
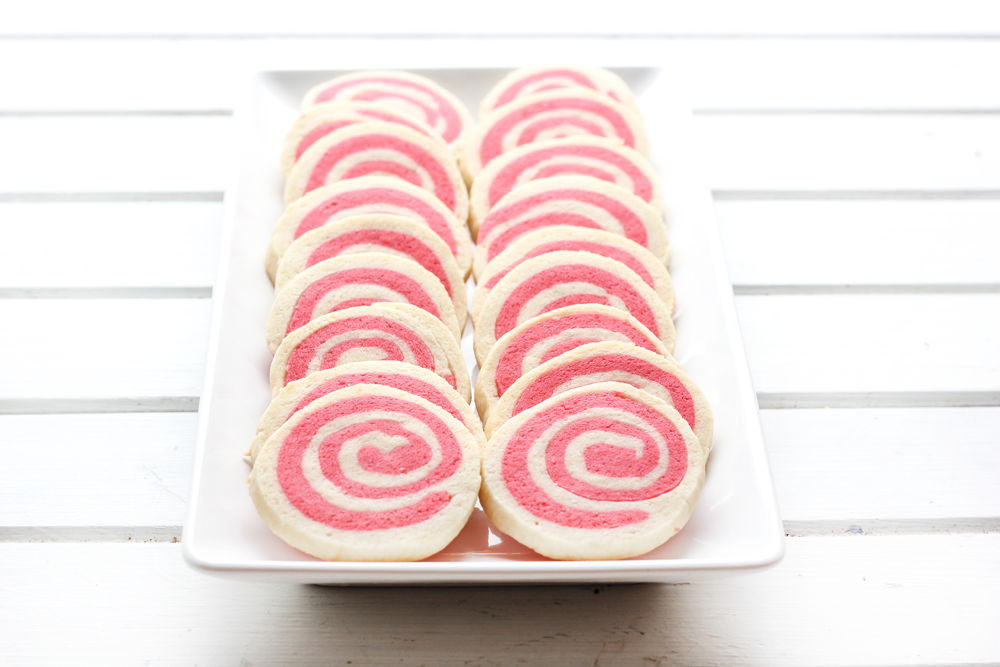
I decided to start my blogging Christmas Festivities with the infamous sugar cookie! These three cookies used the same sugar cookie recipe, but they all look completely different! This is a great way to wow your Christmas guests with a selection of cookies and make them think you’ve been baking for weeks!
- 3/4 teaspoon salt
- 1/2 teaspoon baking powder
- 3 cups all purpose flour, plus more for rolling
- 1 1/4 cups (or 2 1/2 sticks) chilled, unsalted butter, cut into 1/2" pieces
- 1 cup sugar
- 1 large egg
- 1 large egg yolk
- 1 teaspoon vanilla extract
- Whisk salt, baking powder and 3 cups of flour in a small bowl.
- Using an electronic mixer on high speed, beat butter and sugar until well combined, about 3 minutes. The butter does not need to be fluffy. Add in the egg, egg yolk and vanilla. beat just to combine.
- Reduce speed to low and gradually add dry ingredients. Mix just to combine,
- 1 batch of my Ultimate Sugar Cookie Recipe
- Red or Green Food Colouring
- Divide the dough in half. Roll one half into a 3/4" thick disc, wrap in plastic and chill in the fridge for at least 2 hours.
- Place the second half back into the mixer. Add red or green food colouring to your desired brightness.
- When the colour is mixed, roll into a 3/4" thick disc, wrap and plastic and chill in the fridge for at least 2 hours.
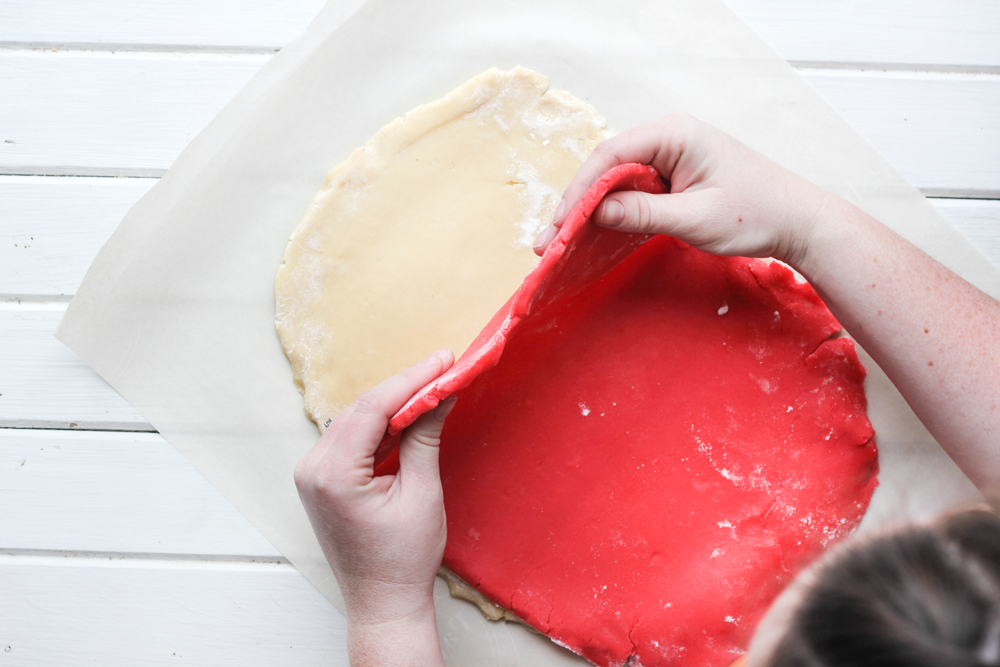
- Let discs sit at room temperature for 5 minutes. Roll the white disc into a rectangular shape on a lightly floured surface until approximate 1/4" think. Do the same with the coloured disc. If dough is soft and sticky, chill on parchment paper in fridge until firm.
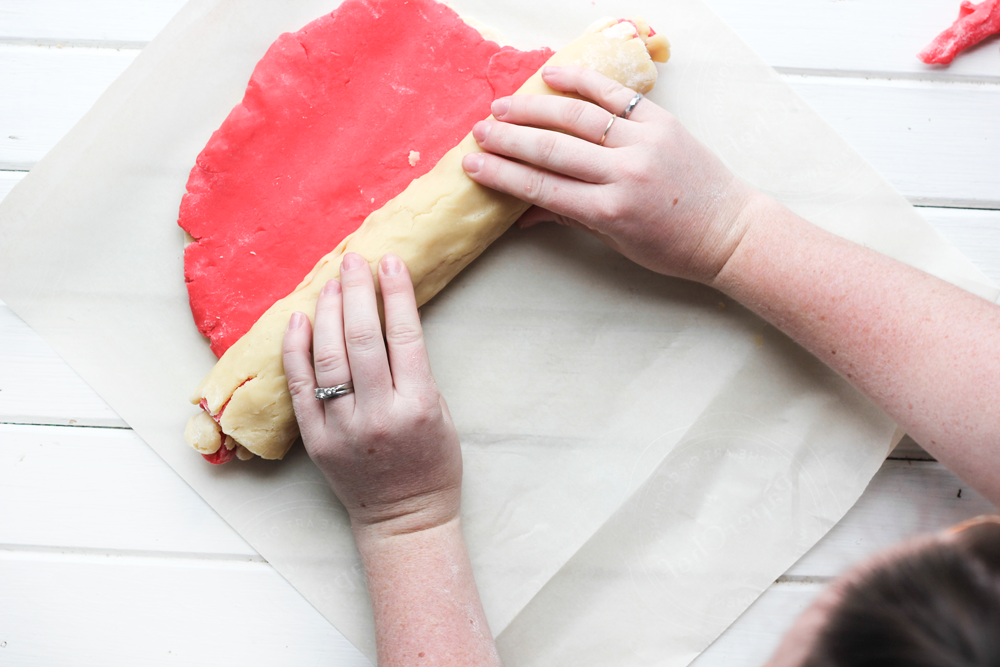
- Place the white dough on parchment paper. Place the red dough on top of the white dough. Start to roll the dough, starting at the short end. Make sure to roll the dough tight. I lift the parchment paper, and continue to roll with it to help keep the dough together.
- Once the dough is rolled up into a log, wrap in plastic and chill for another 30 minutes to 1 hour.
- Preheat the oven to 325F.
- When to dough is firm, remove plastic and slice into 1/4" thick cookies, place on parchment and bake for 12-16 minutes (or until edges are golden).
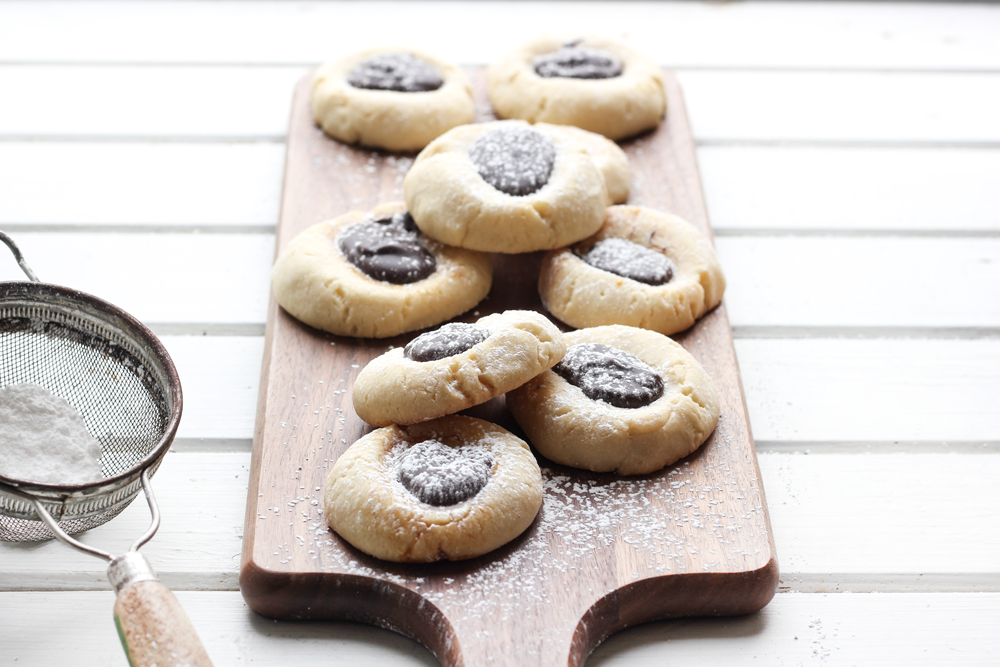
- 1 batch of my Ultimate Sugar Cookie Recipe
- 4 ounces semisweet chocolate, chopped
- 4 Tablespoons butter
- 1 1/2 teaspoons light corn syrup
- Preheat oven to 325F.
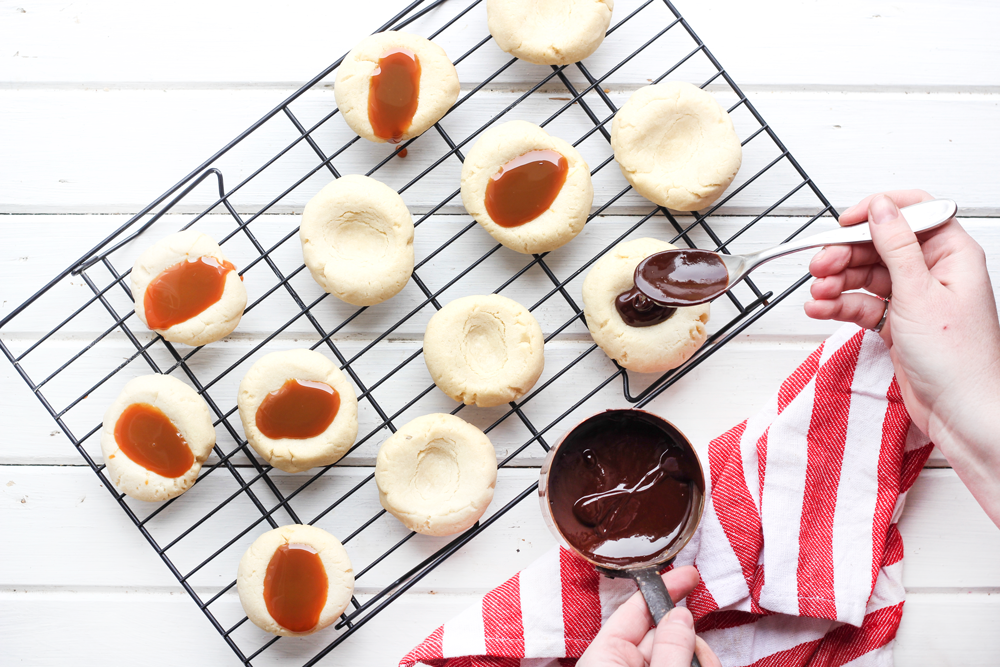
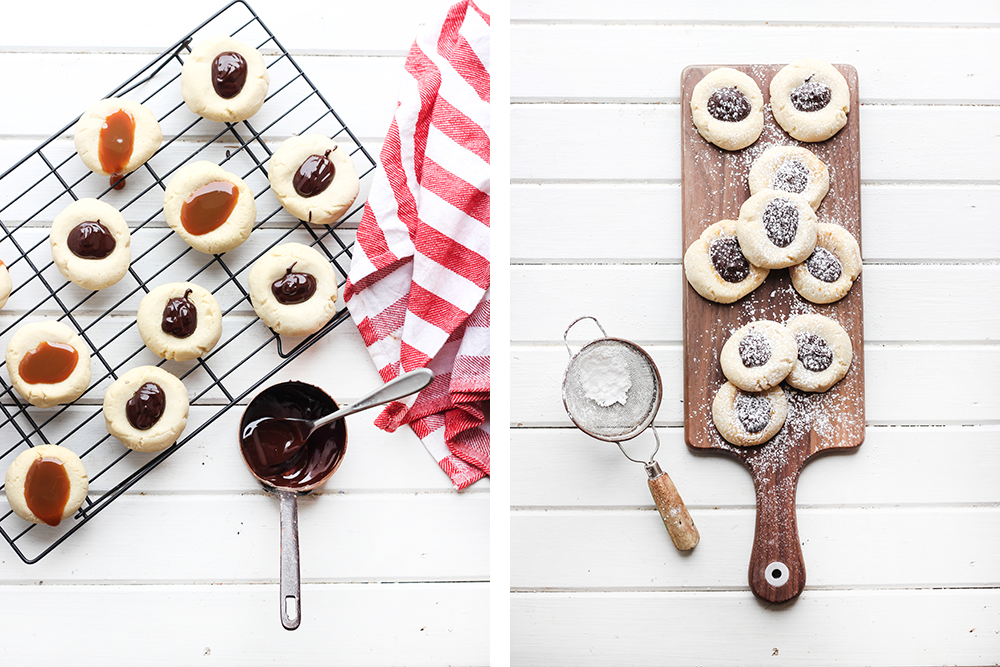
- Roll dough by teaspoonfuls into balls, and place 1 inch apart on an parchment paper lined baking sheet. Bake for 10 minutes, remove from oven, and press thumb into tops of cookies to make indentations.
- Return to oven, and bake until light brown on the edges, 7 to 9 minutes more. Place on a wire rack to cool.
- Combine chocolate, butter, and corn syrup in a small heat-proof bowl. Set over a pot of simmering water. Stir occasionally until melted and smooth. Allow to cool slightly. When cookies are cool, fill the thumbprints with the chocolate mixture.
- 1 batch of my Ultimate Sugar Cookie Recipe
- 3 cups icing sugar
- 2 large egg whites
- Water
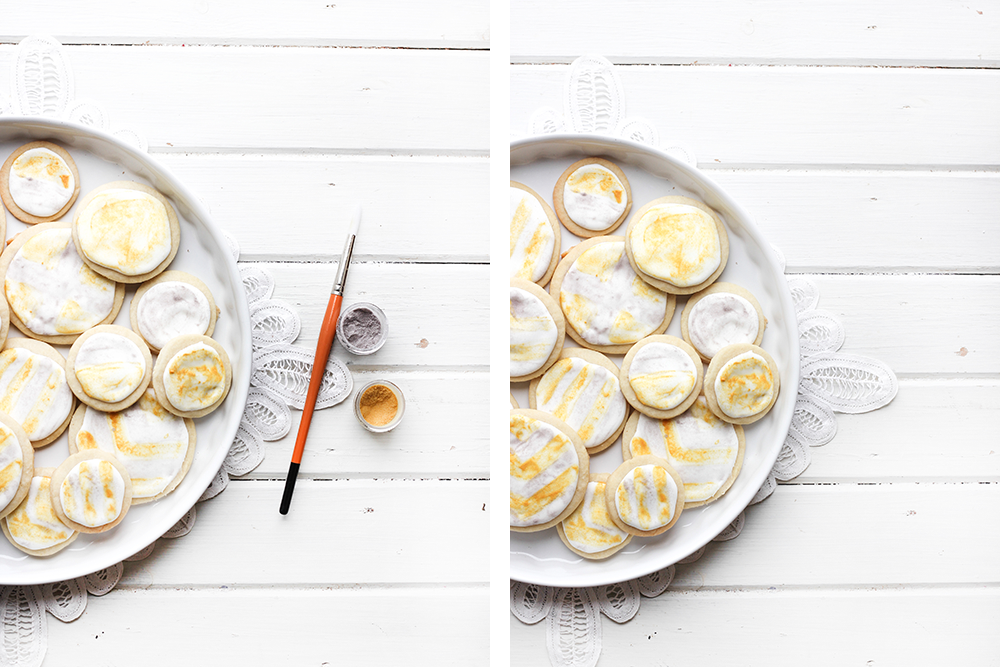
- Edible Luster Dust
- Make one batch of my Ultimate Sugar Cookie Recipe.
- Form the dough into two 3/4" think discs, wrap in plastic and chill for at least 2 hours.
- Remove from fridge and let sit for 5 minutes. Roll the dough out on a lightly floured surface and use a cookie cutter to cut your cookies.
- Preheat oven to 325F.
- Place cookies on a cookie sheet lined with parchment paper. Bake for 12-16 minutes or until edges are golden.
- Remove from oven and let cool on wire racks.
- While cookies cool, combine icing sugar and egg whites and beat on high for 5 minutes.
- Add water in, 1 tablespoon at a time, and mix until peaks no longer form.
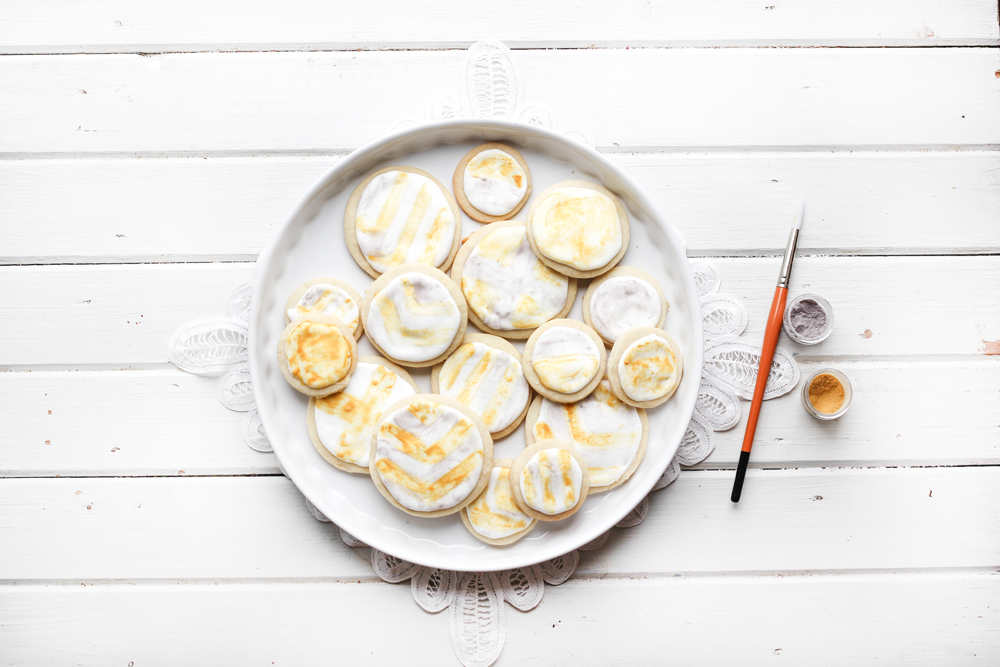
- When cookies are completely cool, place icing in a piping bag with a small circle tip. Outline all the cookies first then start to fill in the centres. Use an offset spatula to spread the icing using a circular motion.
- Let cookies sit for 2 hours to allow icing to set.
- In a small bowl, combine about 1 teaspoon of luster dust with a few drops of lemon extract, adding more extract as needed until the mixture is the consistency of thin paint. Use a small brush to paint ht designs onto the icing, blotting brush on paper towel when needed.
- Allow luster dust to dry.

These cookies look great – so glad we can start our Christmas baking soon
agreed Ev!
These look fantastic! All of them! Such a great post! I’m featuring this at our week’s link party. http://www.thelifeofjenniferdawn.com/2014/11/a-little-bird-told-me-117.html
THANKS SO MUCH JENNIFER!!!!!!!! I feel so loved!!
I love the pinwheel ones, I was half way there when I saw the red spirals but then you make them look easy to make too, pinning and planning to make as a gift for someone but as I’ve not even written a list yet I’m not sure for who!
Yahoo!!! I’m so glad I could help Julie!!