Its Halloween week, and I’ve never been more excited! Lately I have noticed that my sewing machine is getting a work out. There are weeks where I sew constantly, and then there are weeks where my machines get the rest they deserve. There is something so satisfying about taking an average piece of fabric and turning it into something beautiful. In the last week I have been busy working on Olive and Henry’s Halloween Costumes as well as a few of these batty friends. The older I get, the more spirited I am becoming about different holidays. I’ve always been a Christmas nut, but now that Olive and Henry are here, I can honestly say I’m so excited for Halloween.
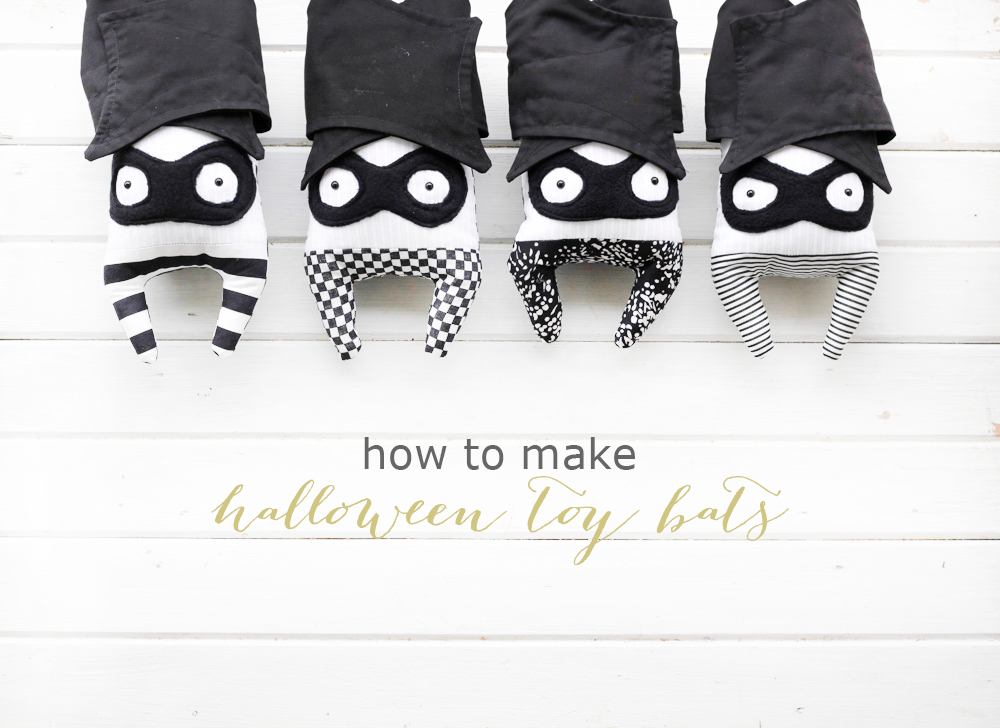
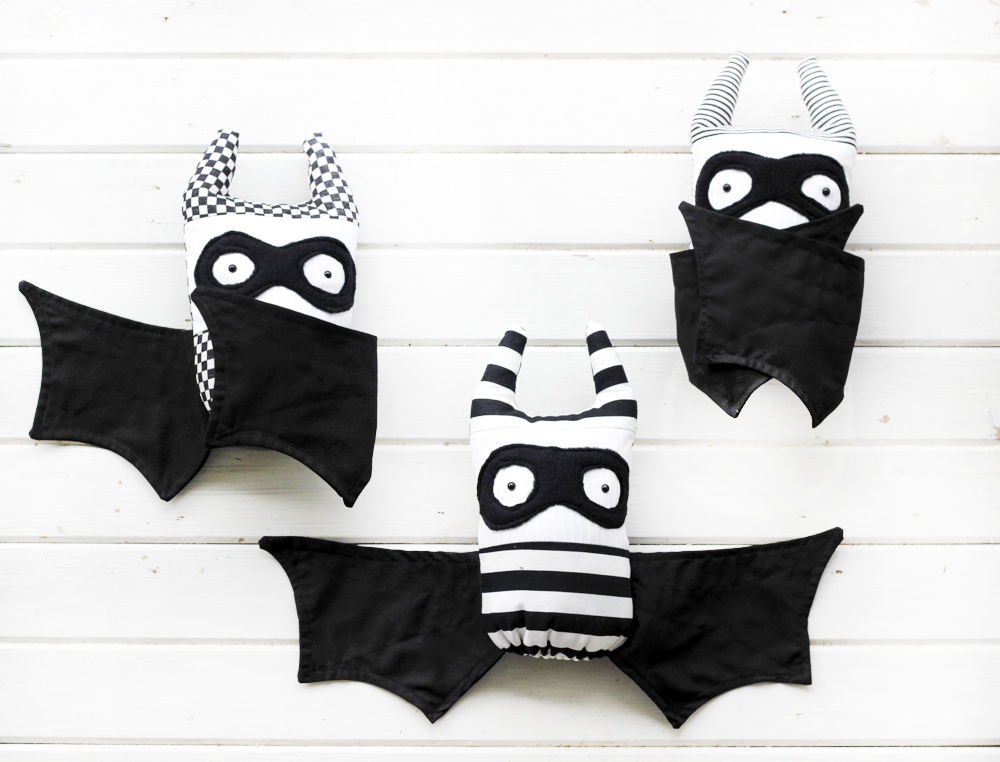
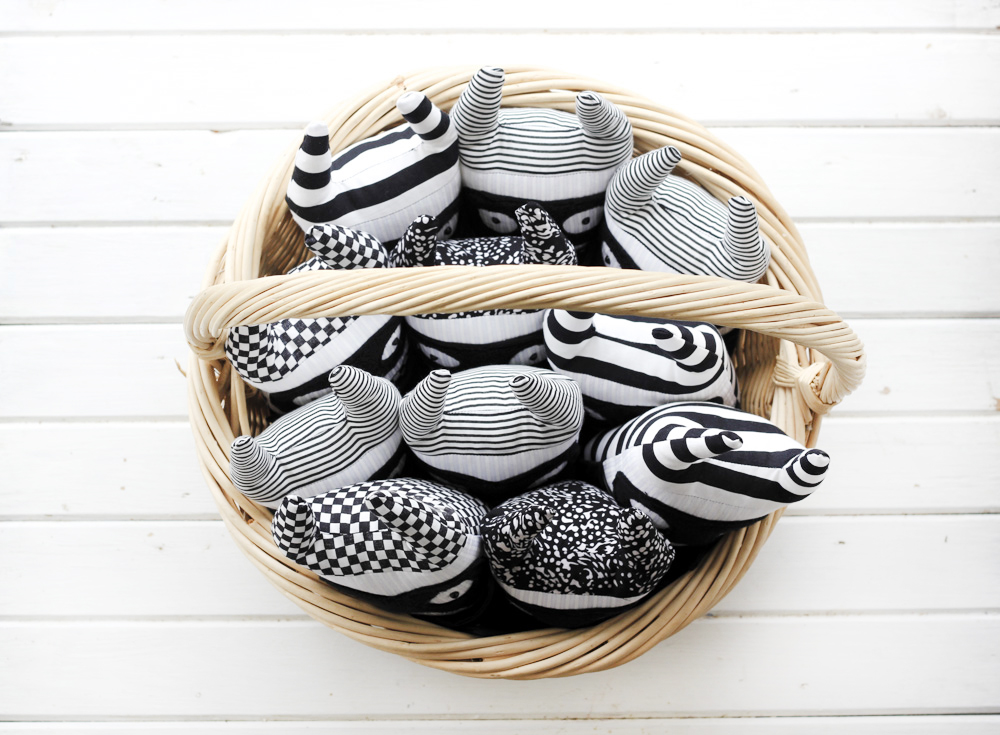
Today I wanted to share how simple it is to make these little toy bats. They are the perfect little gift for any Halloween-loving child (or child at heart)! Olive loves making these guys “fly” around the room.
This tutorial assumes you have very basic sewing knowledge, however, please feel free to ask me any questions!
First you will want to gather your supplies (note: the fabric amounts are generous. You will be able to make multiple bats!):
- My free Bat Toy Template
- 1/4 metre of black and white patterned cotton or fleece fabric
- 1/4 metre of white cotton or fleece fabric
- 1/4 metre of black cotton or fleece fabric
- Stuffed Animal Safety Eyes
- A generous handful of toy stuffing (polyester or cotton)
- light and dark thread
- scissors
- iron / ironing board
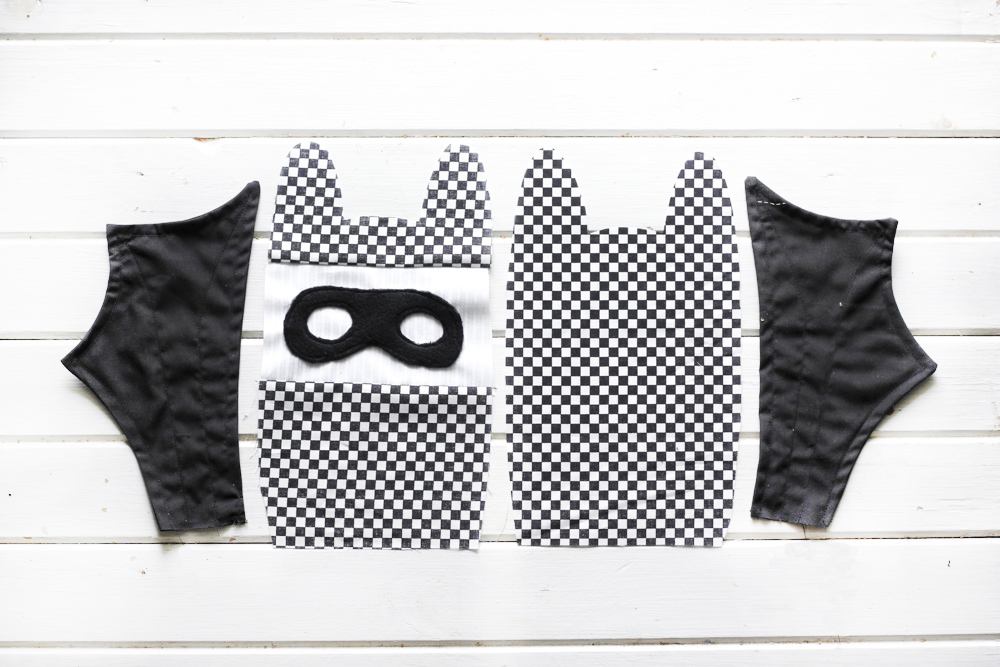
Take a moment to print out my toy bat pattern. Be weary of the scaling when printing. (Obviously the scale isn’t as important as it would be when making clothing)! Once printed, cut out the pattern, trace onto desired fabric, and cut! 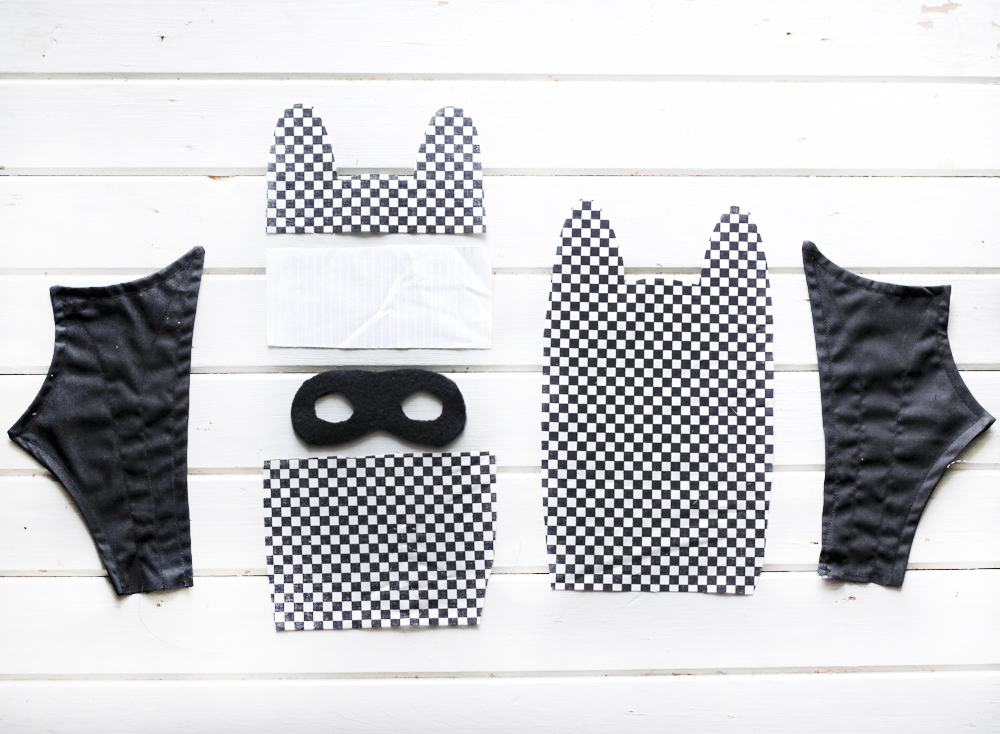
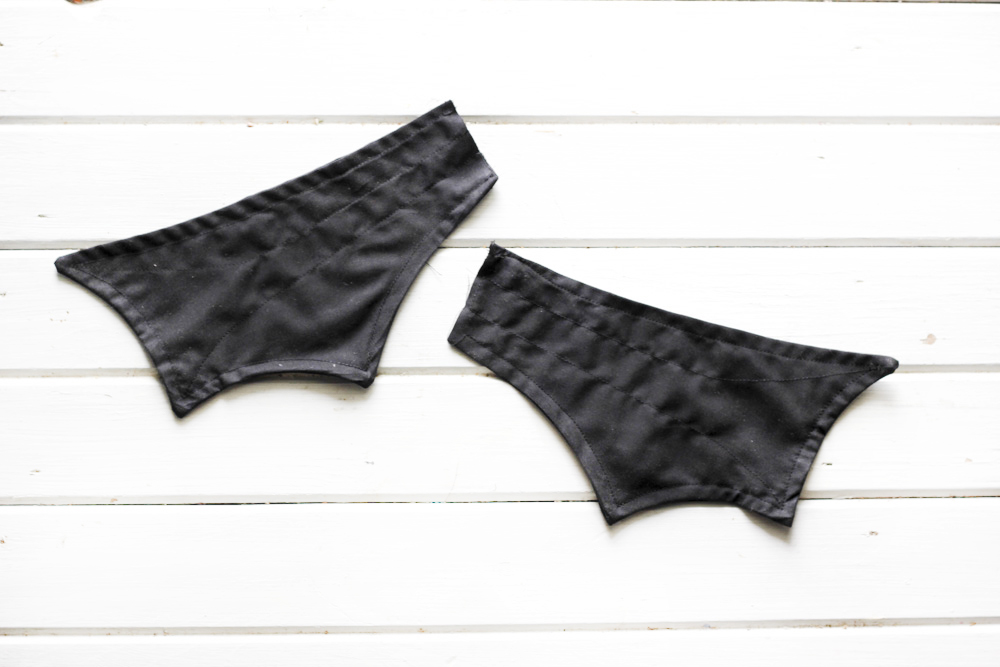
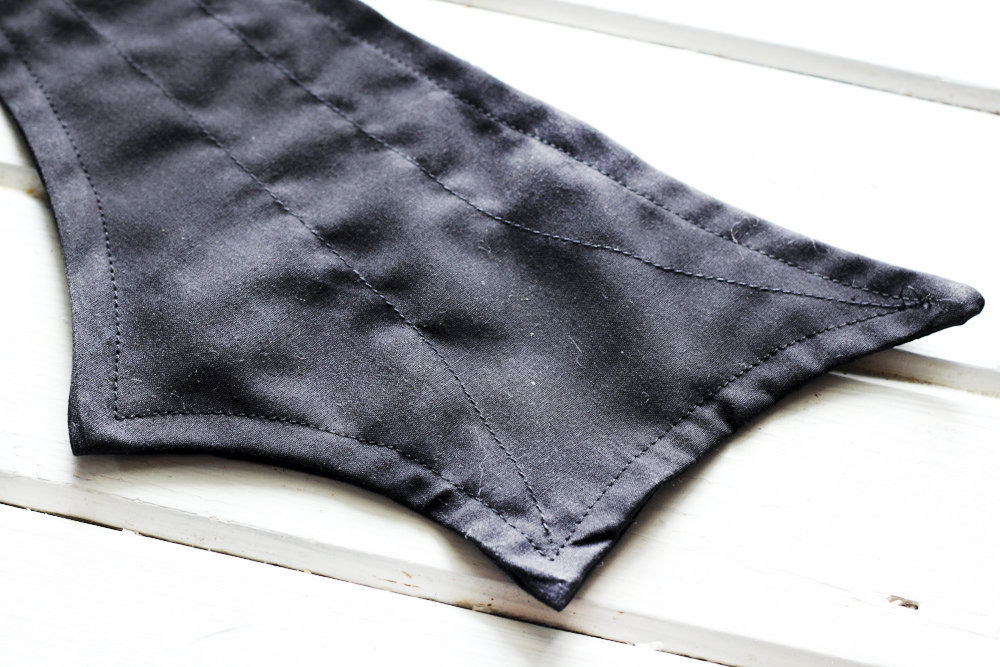
Start with the wings! Cut out four wings – two for each side. Taking two of the wings, place the right sides together and sew a 1/4″ from the edge, leaving the small end open! Flip the wing inside out, making sure each tip is fully turned out. Press the wing with the iron and sew around the edge at a 1/4″ again, making a french seam. Next, sew lines from each tip to the middle of the short end to create texture to the wings.
Next you will want to sew the front of the bat together. First place the right sides of the ears and face together. Sew along the straight edge. Next place the right sides of the body and face together and sew along the straight edge. Press the seams on the back away from the face (this will keep the black from showing through on the white face).
Place the eye mask in the middle of the face. Pin it down so it will not move once you start sewing! Sew around the outside and around the eye holes. (I used fleece for the eye mask because the edges will not fray). If you are using stuffed animal safety eyes, you will want to place them int he centre of the eye holes.
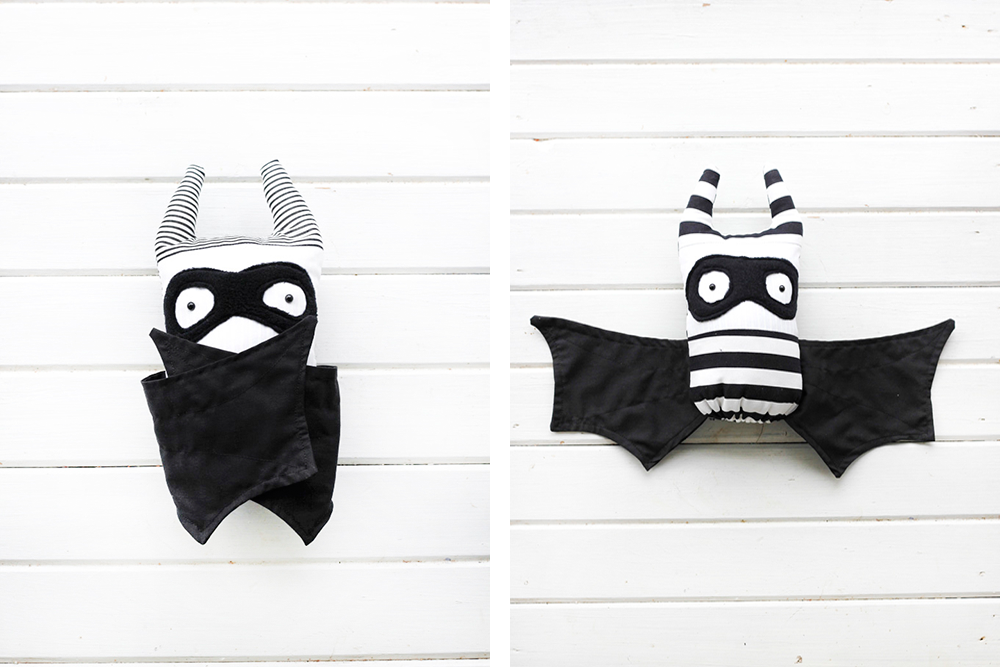
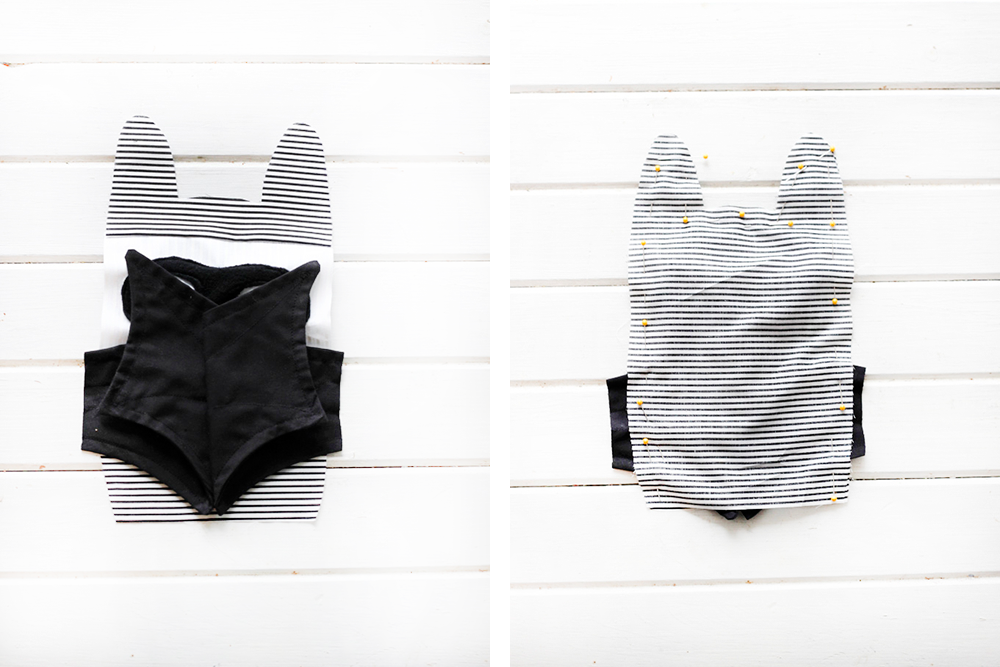
Lay the front of the bat on the table, face up. Next you will want to line up your wings, however, place them facing into the body instead of outward (see photo). Place the back of the bat on top, right side down and pin around the edges. Sew around the entire edge, leaving the bottom open. Once finished, flip the bat inside out, making sure all points are pushed all the way through. Stuff the bat to your desired stuffiness! Hand sew the bottom of your bat closed, making sure your stitches are nice a strong!
I would love to see your finished product and hear your feedback on my tutorial and pattern! Share you photos on Instagram or twitter using #27thandolivecreates and I will compile a post with all your photos!
HAPPY SEWING FRIENDS!
OMG, these are too freaking cute! Thank you so much for sharing your idea and for the great tutorial. I have some bats to make!
haha I’d love to see your finished product!!
These little bats are just too cute! I love this idea and this is a wonderful tutorial.
Thanks so much Miranda!!! I hope you enjoy!!
Oh my gosh, these are so cute!! Pinning! Thanks for sharing these adorable bats at the Manic Mondays blog hop!
Thanks so much!!! Love Manic Mondays!!!!