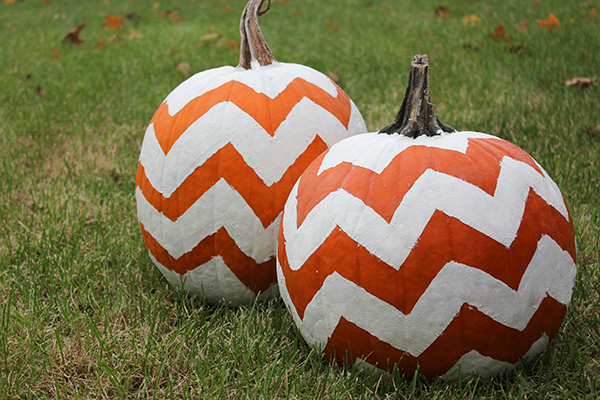
Last week Olive and I were in town grocery shopping. On our way in to the store I saw bins and bins of pumpkins so I plopped two big ones in the front of our cart and carried on with the rest of our shopping. Because Olive’s stroller takes up the entire trunk of our car, the pumpkins were allowed to ride in the back seat with Olive. Olive was beyond thrilled. I watched her the entire ride home. I don’t think she took her eyes off those gigantic orange things beside her!
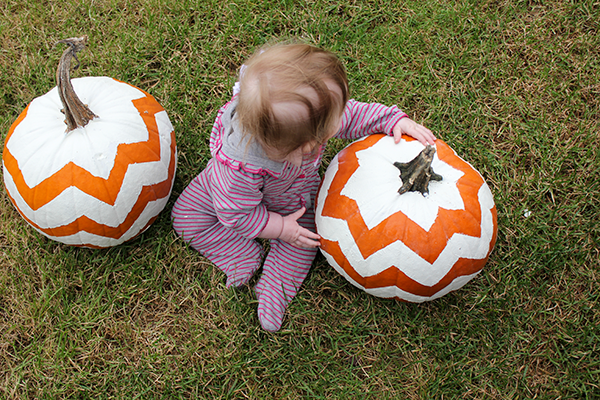
When we go home, we decided to try something a little different. Pinterest in teeming with pumpkin projects! (Have you check it out? Of course you have… Why did I even bother to ask!). We opted for some plain white paint and one of my favourite patterns of all time (and of course some painters tape, and brushes… Can’t forget the brushes)!
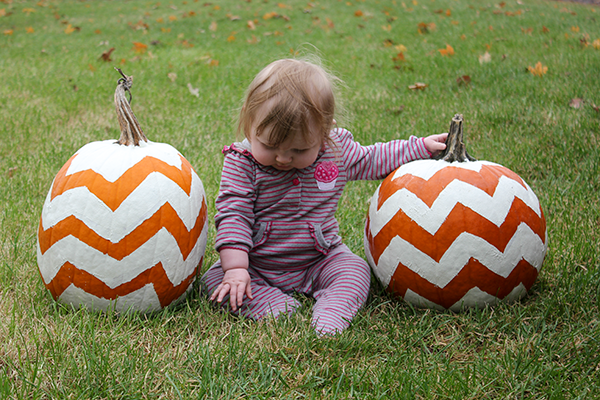 Just lay out your design with the painters tape (making sure the tape reaches into every nook and cranny of the pumpkin) and paint! It’s that simple. Leave until it is completely dry. This was definitely (and is always) the hardest part for me when I take on any project. I literally watched the paint dry until Scott told me to go to bed. The next morning I was beyond ready for the big revealed. I slowly pulled the tape away and watched Olive’s eyes grow bigger and bigger (okay, thats an exaggeration… She really wasn’t that impressed) – but she did have a TIP: Make sure you slowly peel the tape away. I had to touch up some areas with the paint brush because the paint just did not want to let the tape go!
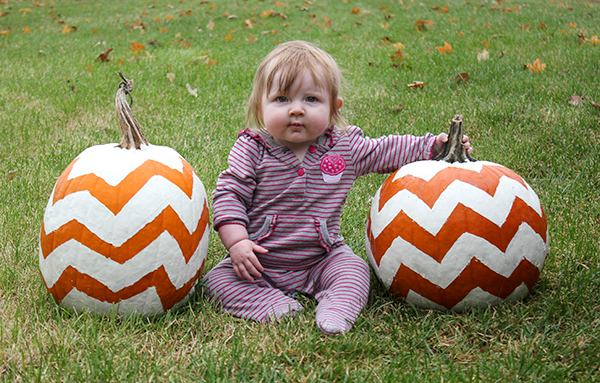 We have them proudly displayed outside under our covered porch! Now we must wait for visitors to come and see Olive’s masterpiece (Olive says “Rock on Pumpkins, Rock on!”)
xoxo
-Stacy
very cute!!
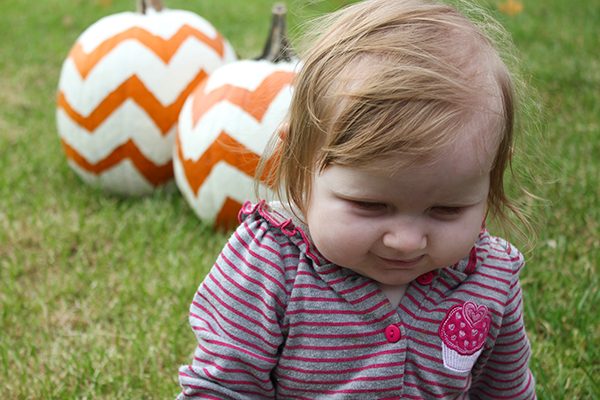
Her first Halloweeeeen. These are the best years of your life, mama!